5 Ways to Style: Lele Sadoughi x Liberty
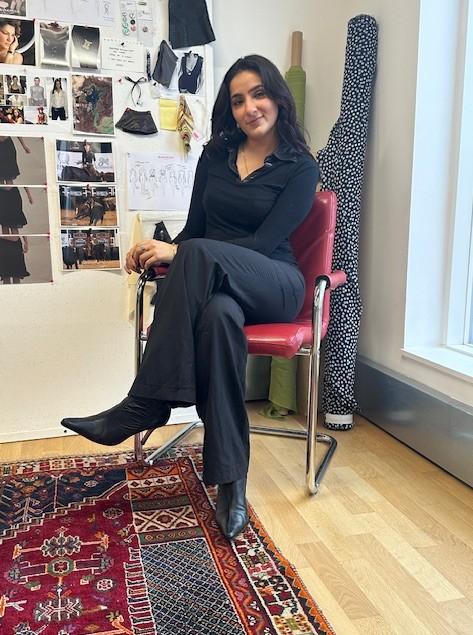
Creative Director Maria Galati from Taylor Taylor London shares her top five ways to style the Lele Sadoughi x Liberty collection
Read more
Lele Sadoughi x Liberty
Creative Director Maria Galati from Taylor Taylor London shares her top five ways to style the Lele Sadoughi x Liberty collection
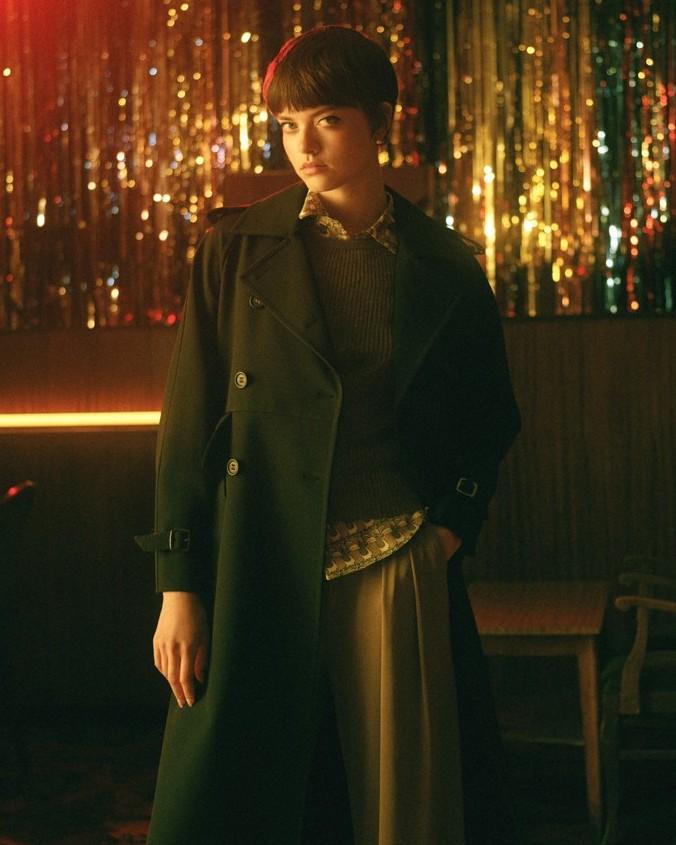
Shop the collectionIn a visit to Liberty’s in-store hair salon Taylor Taylor London, Creative Director Maria Galati talks us through five quick and easy ways to style the headbands and scrunchies from the all-new Lele Sadoughi x Liberty collection. Ideal for adapting to a range of different hair lengths and textures, these low maintenance looks work for any outfit or occasion, whether you’re looking to add a statement finish to a casual weekend look, or a hint of embellishment to an elaborate wedding ensemble.
Look 1: The Low Ponytail
"The first look is a clean, tight ponytail right in the centre of the nape, as low as possible. The parting can be done anywhere and it can be done with a fringe or a shorter hair length, as long as you can get a mini ponytail in."
"I placed the headband behind the ears, a couple of inches back from the forehead so that you could see the parting, which just makes it look a bit more modern. From there, you could keep it clean or I just teased out a bit of the hair around the hairline and added some texture spray to make it a bit more dishevelled and natural."
Look 2: The Low Bun
"For the low bun, you can part the hair wherever or pull it straight back with no parting. I started with the same clean, tight low ponytail. Once that's in, just twist the hair to get all the little fine hairs in and then wrap it around the ponytail and secure it with a couple of grips."
"The headband is placed on last and it's placed over the top behind the ears. And then I just teased the crown to add more volume to the look."
Look 3: The Textured Ponytail
"I started with the hair down for this one and put a strong side parting in to make the look a bit more dramatic. Then I added a textured wave through the mid-lengths, avoiding adding volume at the roots or too much of a classic curl through the ends."
"Once all the waves were in, I brushed it through and shook it out for a more natural, dishevelled look and placed the headband on. Using my fingertips, I teased the roots to create a bit more of a beehive area through the top and pulled the hair into a low ponytail with a clashing scrunchie for an extra pop of print."
Look 4: The Loose Braid
"For this one, I wanted to keep the hairline quite clean so I started by tidying it up with some straightening irons. Then I pulled the hair into three even sections straight down the back and braided as normal, pulling the outside strands over the middle one and using my thumb to keep it really low and tight."
"I tied the end with a very small elastic band and then, starting at the bottom, pulled each side to create a wider, slightly chunkier braid. I stopped pulling near the top so it didn't become too dishevelled around the nape upwards. And then I added the hairband a couple of inches away from the hairline again."
Look 5: The Top Knot
"The last look had a double accessory where the headband and the scrunchie were matching. For this one, I placed the headband first and then pulled some of the hair from the sides and some from behind the headband into a top knot and secured it using the scrunchie."
"I left some hair hanging out to stop it from becoming too big and bulky. But if you have shorter hair, you can just use all of the hair and then tease it to make a larger top knot."



?fmt=auto&qlt=default)
