How to... Upholster a Headboard
Give your bedroom an instant upgrade with our #LibertyCraftClub wavy headboard tutorial. Guaranteed to bring bedtime bliss…
Read more
How to... Upholster a Headboard
Give your bedroom an instant upgrade with our #LibertyCraftClub wavy headboard tutorial. Guaranteed to bring bedtime bliss…
By: Charlotte Olby
The best headboards do a lot more for your bedroom than just providing a place to rest your head. They add a focal point to the room (particularly when wrapped in a suitably statement print), can tie a colour scheme together and will make your breakfast in bed all the more restful. Considering we spend about a third of our lives in bed, doesn’t it seem valuable to invest a little time on a #LibertyCraftClub transformation that will create a centrepiece to your slumber space? While the simplest route is of course to seek the expert hands of a professional, if you’re feeling up to the challenge, we’ve channelled the prowess of our craft committee to inspire a DIY upholstery tutorial to help you create your very own Liberty-wrapped curved headboard – in as little as a weekend. See this as your step-by-step shortcut to a hotel worthy headboard.
Granted, it requires committing more time and patience than a simple cushion cover or tablecloth project (and decidedly less than a puff quilt) but the good news is – particularly for sewing novices, beginner’s upholstery requires little to no sewing experience. All you need to get started is a bit of DIY know-how, a penchant for present wrapping (it’ll make sense later) and a vision for your finished piece to create a headboard at home. Let us show you how…
Read More: How to Choose the Best Fabric for Embroidery
The Kit List
19mm MDF, Plywood or OSB board, cut to desired size
Liberty Interiors Fabric (upholstery fabric is a material made for covering furniture and is generally heavier and more durable than fabrics typically used for clothing or bedding)
Upholstery Foam
Wadding
Fabric Scissors
Bread Knife
Spray Adhesive/Glue
Staple Gun (and Staples)
Pins
Measuring Tape
Jigsaw
Optional:
String for Piping
Sewing Machine
Glue Gun
Read More: The Sewing Kit Essentials Every Crafter Should Own
1. Size it Up
First of all, you need to decide on the size and shape of your headboard. The board should be cut to the width of your bed (152cm for double, 167cm for king) and your desired height. The taller the headboard, the more dramatic the effect, so consider how much of a statement you’re looking to make in your bedroom. We settled on 120cm high (at the highest point) for this design. You can usually get the board cut to size when you purchase at your local DIY store.
2. Get in Shape
The next big decision is choosing the shape and style of your headboard. We decided on a wavy design, but you could opt for a simple rectangular design or go for an even more elaborately-shaped silhouette style. In order to get your board into shape, you will need to use a pencil to trace the shape out onto the board – measuring out equal distances for symmetry. Then, using a jigsaw (and wearing protective equipment), follow along with your markings to cut the headboard to your design.
NOTE: The simpler the design, the easier it will be to upholster. Straight lines are best, twists and turns are trickier…
3. Comfort Is Key
When upholstering a headboard you need to start with a layer of upholstery foam. Without this, whatever you’re upholstering will look flat and uncomfortable. Start by laying your headboard on a flat surface, and roll out the foam over the board. Make sure all edges are covered with plenty of excess. Next, adhere the foam to the board with plenty of spray adhesive – making sure to cover the entire area of the board. Smooth the foam down with your hands to ensure it has fully stuck.
4. The Fun Part
Spin your headboard over, foam face down. This is to ensure you can see the edge of the board and the overlapping foam. Taking a serrated bread knife (odd, but it’s the best tool for the job), carefully follow along your cut edge to trim off the excess foam. Repeat this for all sides. You may need to add a little more spray glue if any edges are lifting now that you have trimmed off the excess.
5. Pile on the Padding
Flipping your headboard around again (foam side up), take out your wadding. This layer goes beneath the fabric and is what gives a headboard its fluffy, soft edges and cushiony touch. If you want an extra plush look, you can always double up the layers. Roll the wadding out over the entire headboard being extra careful with the wadding as it can easily tear. You’ll want around 20cm of extra wadding overlapping all edges. Turn the headboard so it’s face down, and fold over the excess wadding. Pull the wadding taut and using your staple gun, staple generously along each edge to secure to the back of the board. Trim any excess.
6. Add Some Liberty Magic
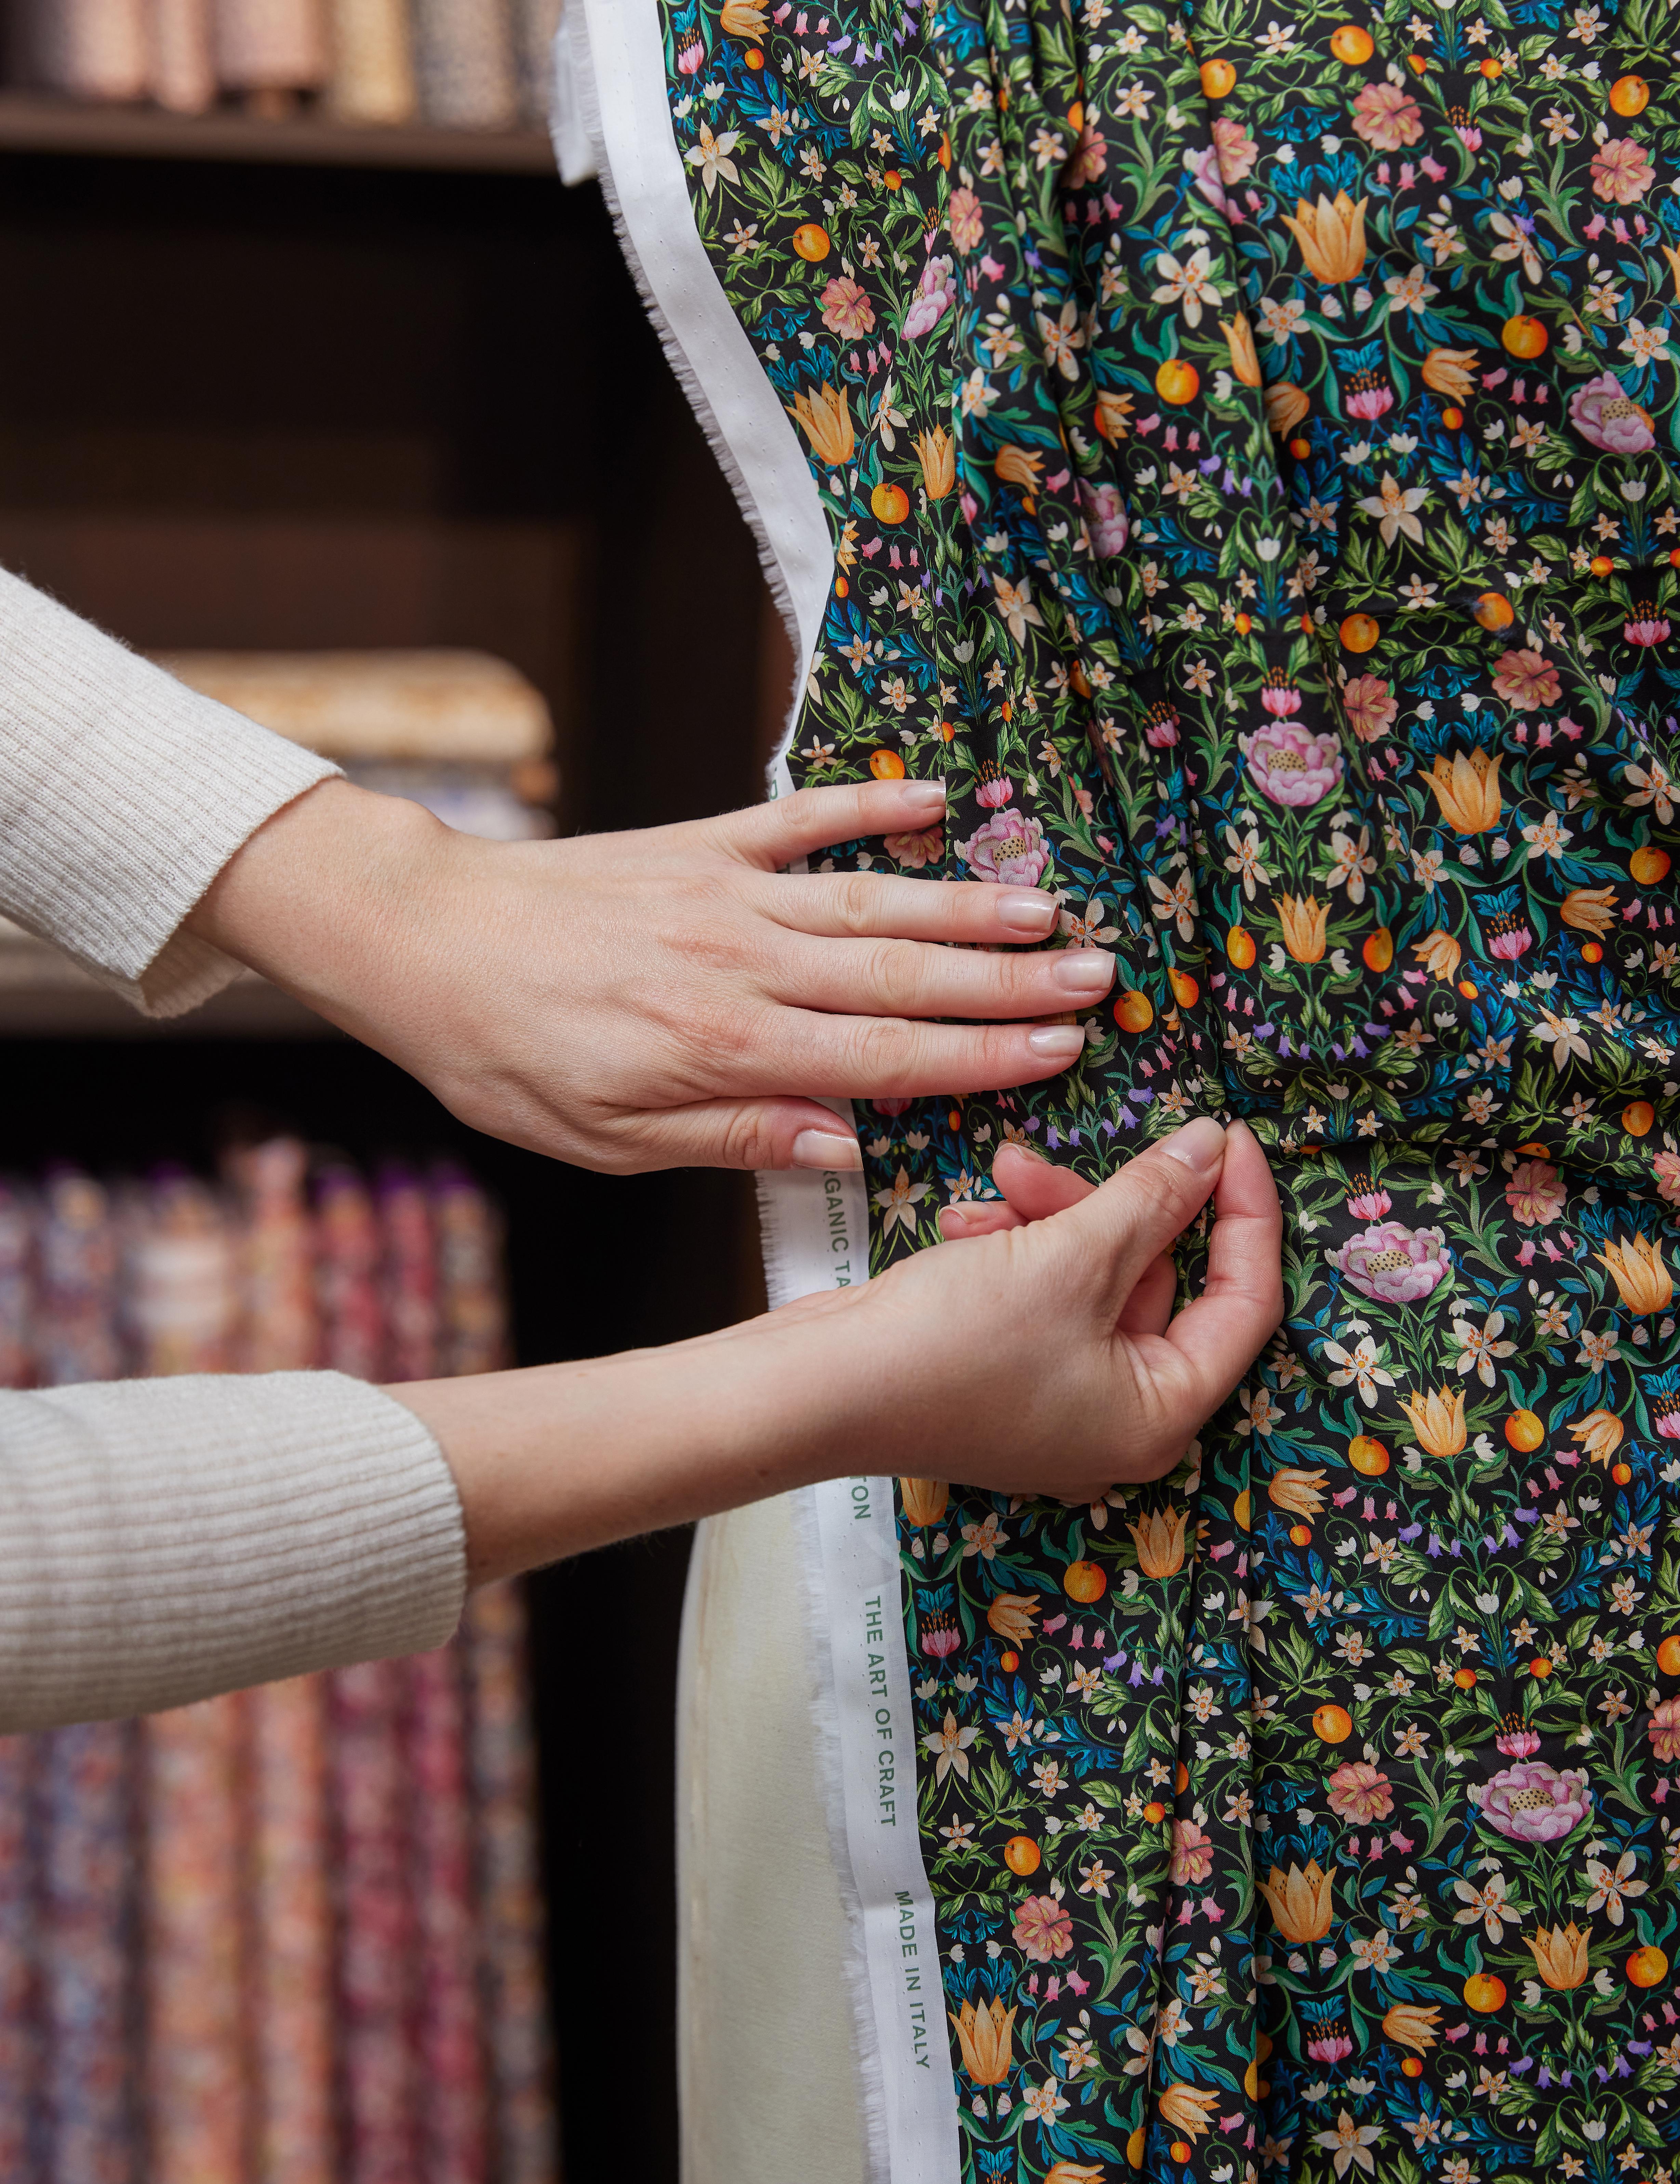
Essentially, you now need to repeat the same process but this time with your final fabric and in a much neater way. Spin the headboard over again so that it’s right-side up. Size up your fabric – we used four metres of FuturLiberty Painted Elements in Vesuvio for this king size headboard – ensuring that you have approx 20-25cm excess on all sides for overlapping the board, foam and wadding.
TIP: Now would be a good time to give your fabric an iron or steam before committing it to the board forever.
7. Securing the Goods
Using pins or clamps, centre the fabric over the headboard and secure it in place. Then, flip the headboard over again so it’s face down (right-side of fabric facing the floor). Start at the bottom edge – which is usually your flattest and easiest edge to begin from – hold the fabric taut and use your staple gun to secure the fabric over the wadding. Be sure to staple close to the edge and place your staples 10-12cm apart. And don’t forget to remove pins as you go! Repeat for all straight edges.
8. Around the Bend
Now for the tricky part: the corners. With all that extra fabric bulking at the corners, it can be hard to wrap your fabric so it doesn’t show wrinkles at the corner from the front. To avoid this, you need to pretend you’re neatly wrapping a present. When stapling up to the corner, leave 2.5-3cm unstapled on both sides, leaving a tail of unsecured fabric. Take the tail, and, while pulling it taut, fold it out flat over the corner and place a staple close to the top edge of the corner to keep the tension secure. Then, fold the corners of your flattened tail (bare with us here) on top of the stapled area and secure each in turn. Trim away any excess bulk.
TIP: You may have to remove a staple or two right next to the corner because the fabric is bunching or because you didn't pull the fabric taut enough when stapling. This is ok! Just remove the staples, reposition the fabric to smooth out any wrinkles and bunching, and restaple.
9. Making Waves
Just when you thought you’d done the hardest part, you now need to staple around your shaped edge. For our wavy design, this meant navigating the peaks and troughs of the waves. To do this, we started with the highest peak, stapling the fabric taut across the back of the wave. Then, for the edges of the curve and along each trough, we snipped relief cuts along the back of the fabric (in the excess) in order to manipulate the fabric around the curves. We then worked our way around the edge, pulling the fabric tight, making small cuts and stapling it down until the curve was wrinkle-free from the front. Trim away any excess fabric from all edges.
10. Final Touch
Depending on how neat you have been with your folds, you can either finish the headboard here (hurrah) or, optionally, choose to add a piped panel along the top to add a final touch. Take a strip of excess fabric slightly longer than the full width of your headboard and double the thickness of the headboard, and lay your string along the middle of the wrong side of the fabric. Fold the fabric in half, wrong side to wrong side, trapping the string and sliding in some pins to secure. Then, using your sewing machine, run a straight stitch along the string to encase it in the fabric – it may help to move your needle to the left. Once done, you can then staple your panel along the top edge of your headboard, securing to the back of the board. Run a bead of hot glue using a glue gun under the front edge to secure it down neatly.
11. Fin
Attach your headboard to the wall by screwing two D-rings to the back of the board and hanging them from screws or hooks in your wall, and you’re finished! Now it’s time to prep your bedroom for the ultimate slumber party by accessorising your bed with an abundance of Liberty prints. Look to our FuturLiberty collection for unexpected doses of joy – simply put, it's what dreams are made of. Lie back and enjoy the fruits of your labour.




_0824_RETOUCHED?fmt=auto&qlt=default)


?fmt=auto&qlt=default)
