How To… Make a Napkin with a Ruffle Trim
Inject some romance into your table with our step-by-step guide to making your own ruffle trim napkins
Read more
How To… Make a Napkin with a Ruffle Trim
Inject some romance into your table with our step-by-step guide to making your own ruffle trim napkins
If you’re as obsessed with ruffles on shirts and dresses as we are (thanks, Batsheva), why not extend the same frill and flounce treatment to your table? Pretty up plain tableware in just 10 easy steps to create fanciful napkins with a ruffle trim, complete with their own handy cutlery pouch. Whether you’re a ruffle-sewing-aficionado or a total novice, we’ve broken down the full process for you. Welcome to #LibertyCraftClub.
Read More: How To... Make a Tablecloth With a Ruffle Trim
You Will Need:
1. Fabrics of Choice
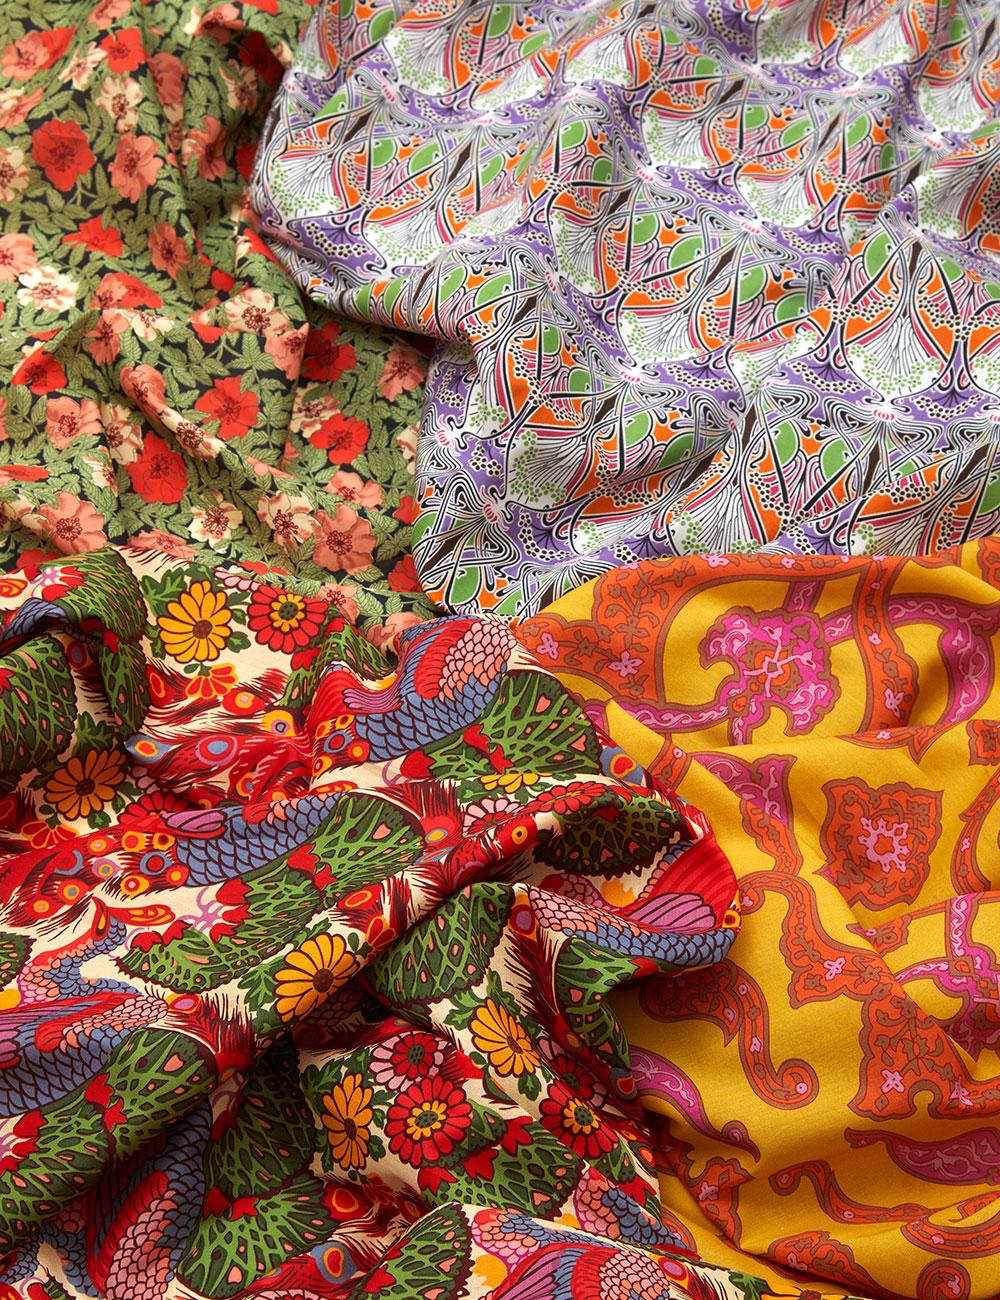
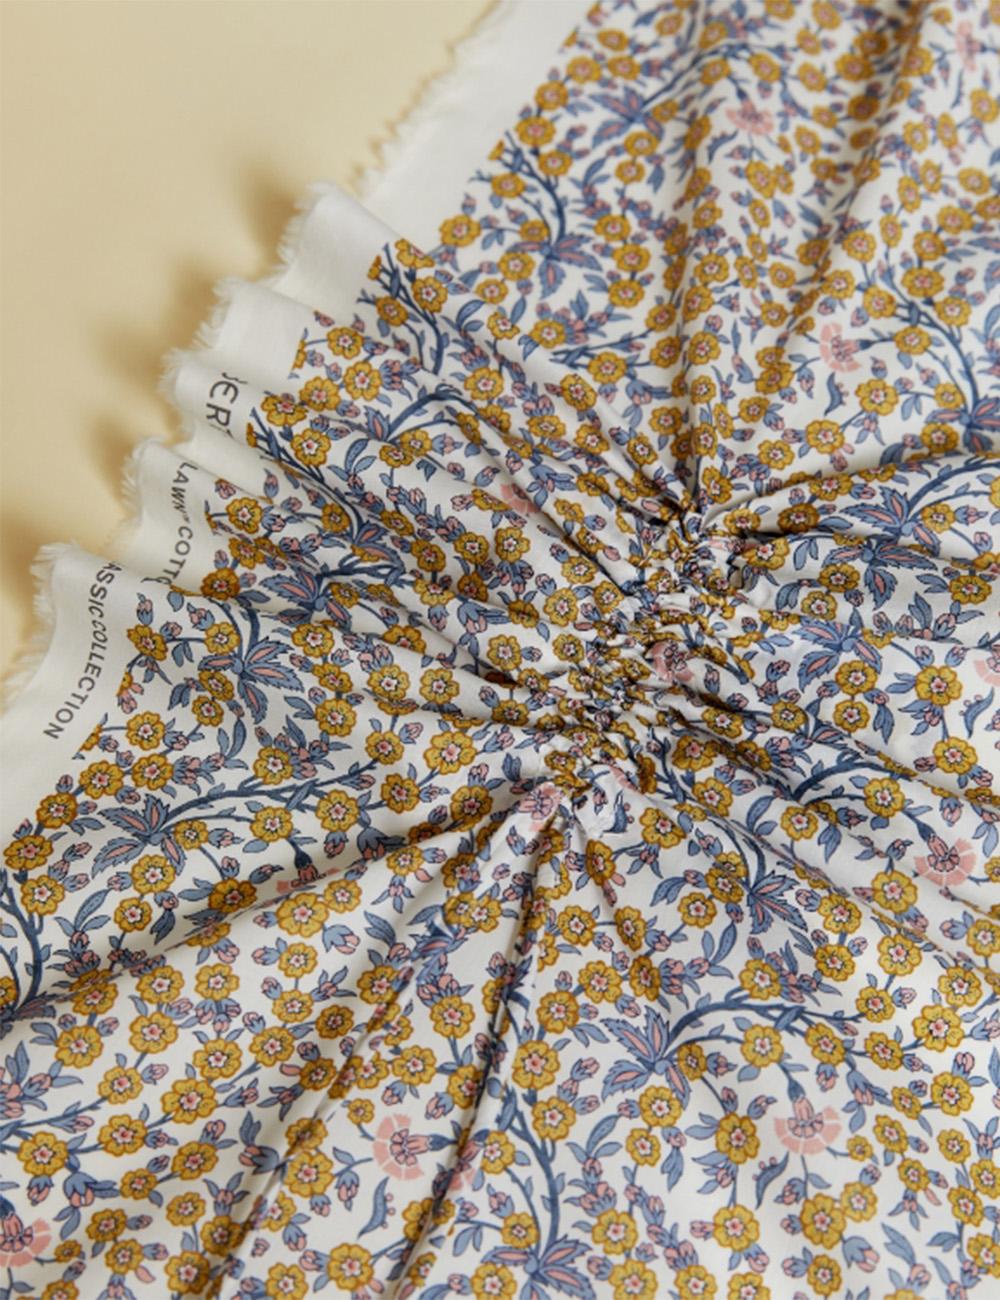
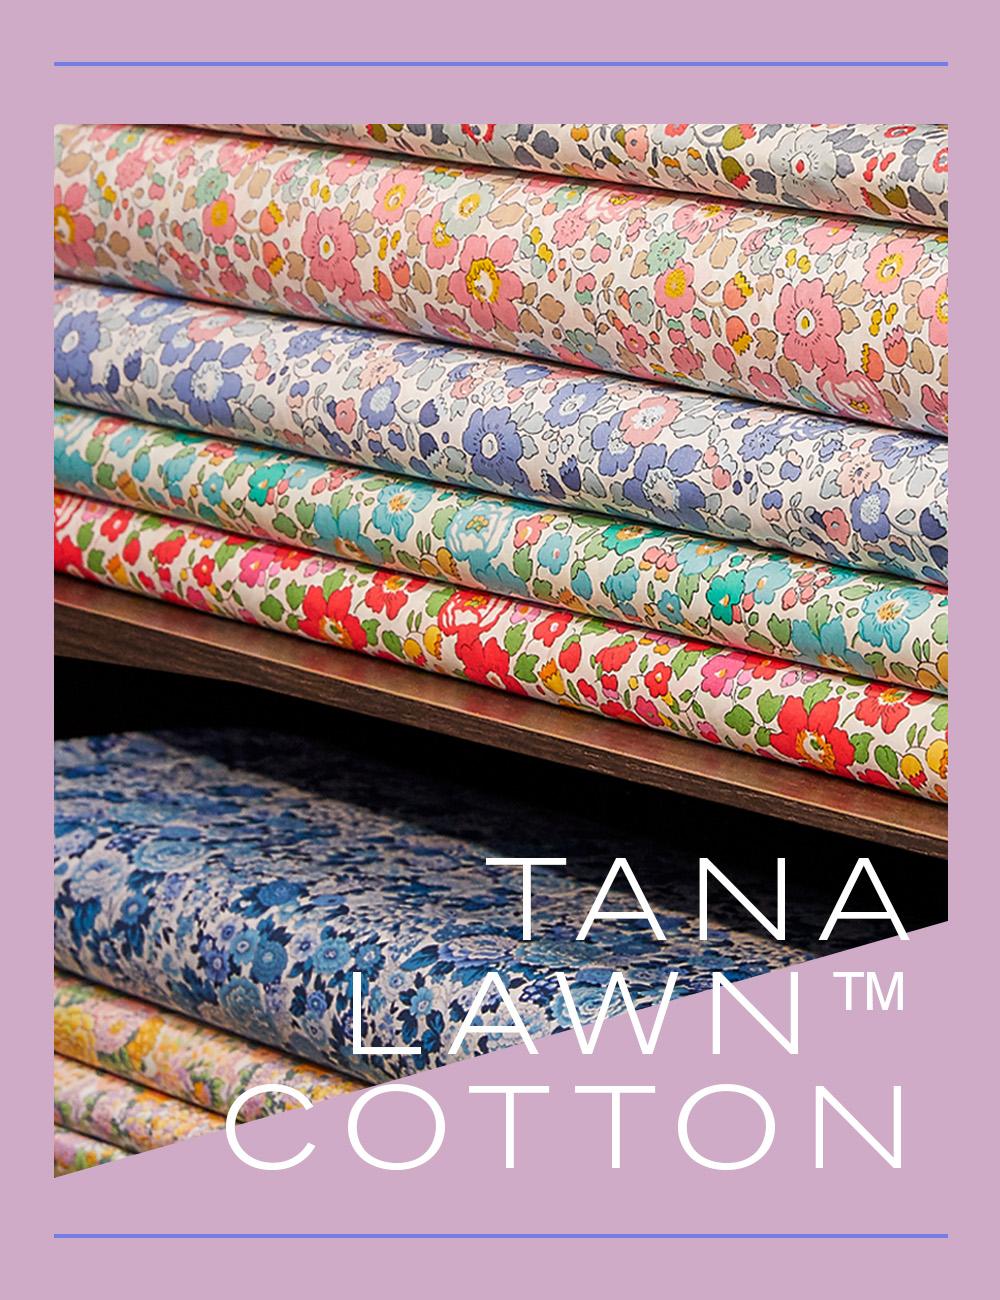
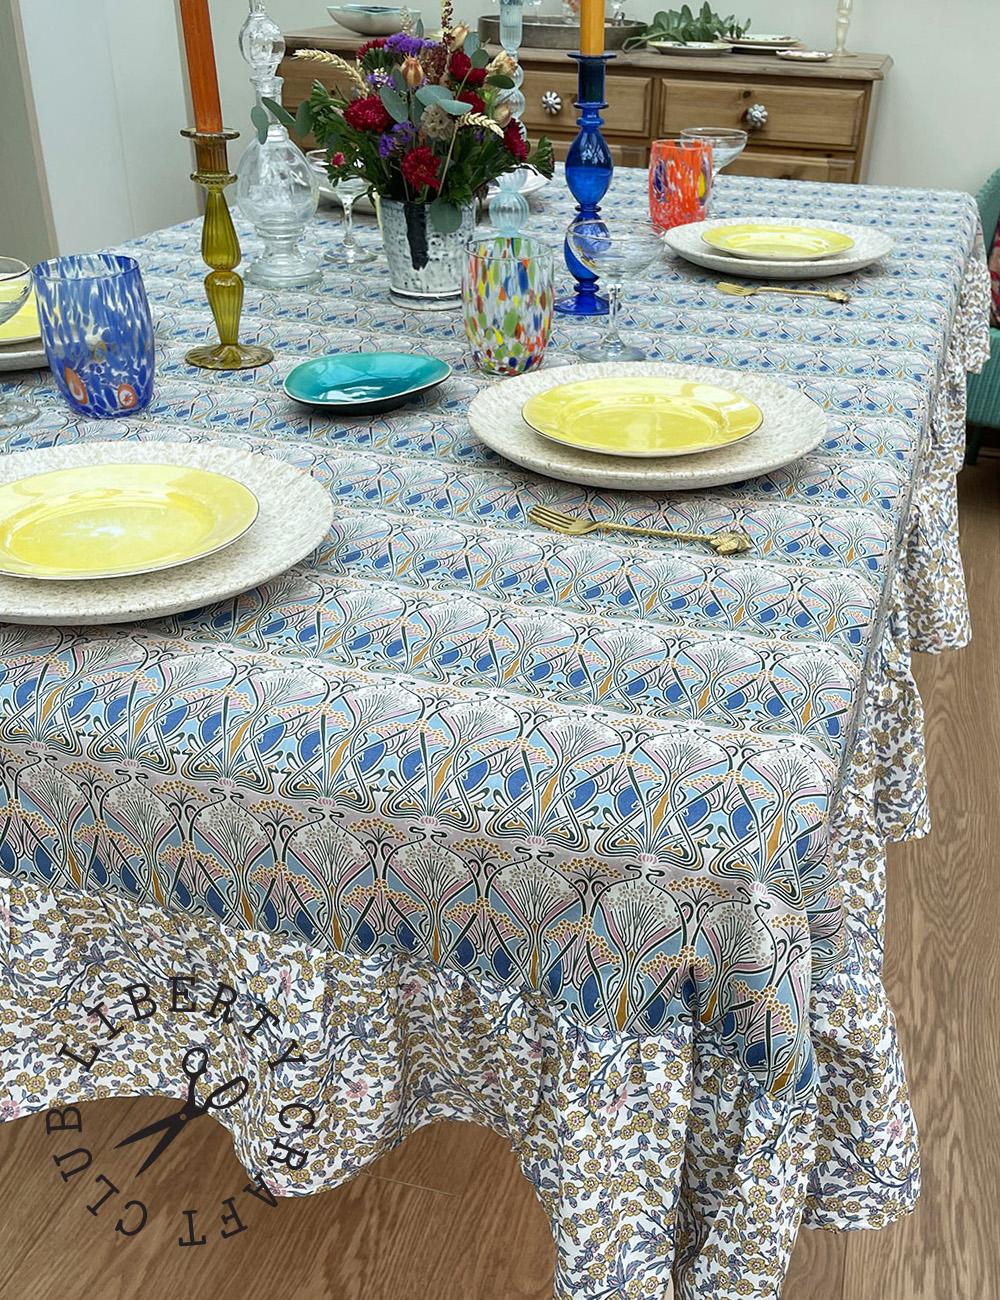
Select your two Liberty Tana Lawn™ fabrics. We opted for the heritage peacock Liberty print Queen Hera Tana Lawn™ Cotton, £25 per metre which has adorned Liberty designs ever since the mid-1890s, paired with the equally iconic ditsy print Betsy Ann Tana Lawn™ Cotton, £25 per metre. The key is to pick fabrics in co-ordinating yet contrasting colourways that will work in harmony with your tablescape.
2. Pattern Piece 1
Cut out one piece of fabric the size and shape of your desired napkin (this will be your Pattern Piece 1). we worked to measurements of 21cm x 26cm to create a rectangle napkin - NOTE: this included a 1cm seam allowance - but you could go supersize and create square napkins as big as 45cm x 45cm. We recommend creating your own paper template to help ensure straight edges and allow you to work to a guide.
3. Pattern Piece 2
To create Pattern Piece 2, you will need to cut two more pieces (in the same fabric as Pattern Piece 1) at 21cm x 30cm. Fold the two pieces in half, wrong sides together, and stitch around the 3 open edges at a 0.5 seam allowance. This will be your cutlery pouch - set aside until Step Eight.
TIP: Make sure you like how the fabric print aligns when folding.
Read More: How To... Sew a Cushion Cover
4. Measuring Your Ruffles
Now you need to cut strips from your second fabric for all 4 edges of your napkin to create your ruffle trims. As we worked to a rectangle, we cut 2x strips of 9cm x 42cm (double the length of my shortest edge) and 2x strips of 9cm x 52cm (double the length of the longest edge) - don't forget to adjust to your own measurements if creating bigger napkins.
5. Press Ahead
Sew all four of your ruffle strips together to form one continuous looped piece. Press the seams open with your iron, and then fold in half (wrong sides together) and press again, all the way around.
Read More: How To... Cut a Pattern
6. Get Gathering
Using a gathering foot on your sewing machine, stitch along the raw edge of your folded strip by holding your finger behind the foot while pressing the fabric to create your ruffle. If you don’t have a gathering foot, use the longest stitch length setting available on your machine, and evenly gather by hand pulling the stitching through. This will be a more time-consuming method, but will allow for a little more control.
7. Pin, Pin, Pin
Time to pin everything in place! Pin your ruffle onto the right side (aka the front) of Pattern Piece 1. Start by pinning the 4 seams evenly around the 4 edges, adding as many pins as you need between. Stitch around the 4 edges you’ve just pinned, slightly above the gathering stitch line - leaving a 0.5cm seam allowance.
TIP: add extra gather if needed to even out as you go and add extra fullness in the corners or seams to create an even, finished piece.
Read More: How To... Sew a Dress
8. Line it Up
Before attaching Pattern Piece 2 to Pattern Piece 1, you will want to pin the ruffles out of the way to ensure they don't get caught in the machine. Fold the ruffle back on itself, so it's laying flat onto Pattern Piece 1 and pin in place. Lay Pattern Piece 2 onto the right side of Pattern Piece 1, trapping the ruffles in between your two pieces. Pin into place.
Read More: At-Home Couture: Liberty Sewing Patterns
9. Secure the Pouch
Stitch all 4 sides of the pouch into place (NOTE: at 1cm seam allowance this time) making sure that you don’t catch your ruffle inside the stitching.
Read More: What Kind of Liberty Print Are You?
10. Fin
Turn the finished napkin right side around. Take out all your pins, press with the iron and voila! A finished finished ruffle-trimmed napkin

_0824_RETOUCHED?fmt=auto&qlt=default)
?fmt=auto&qlt=default)
