
How To… Make a Puff Quilt
Uplift your bedscape this winter with the ultimate #LibertyCraftClub project: a puff quilt. Here's our step-by-step guide to creating your own
Read more
How To… Make a Puff Quilt
Uplift your bedscape this winter with the ultimate #LibertyCraftClub project: a puff quilt. Here's our step-by-step guide to creating your own
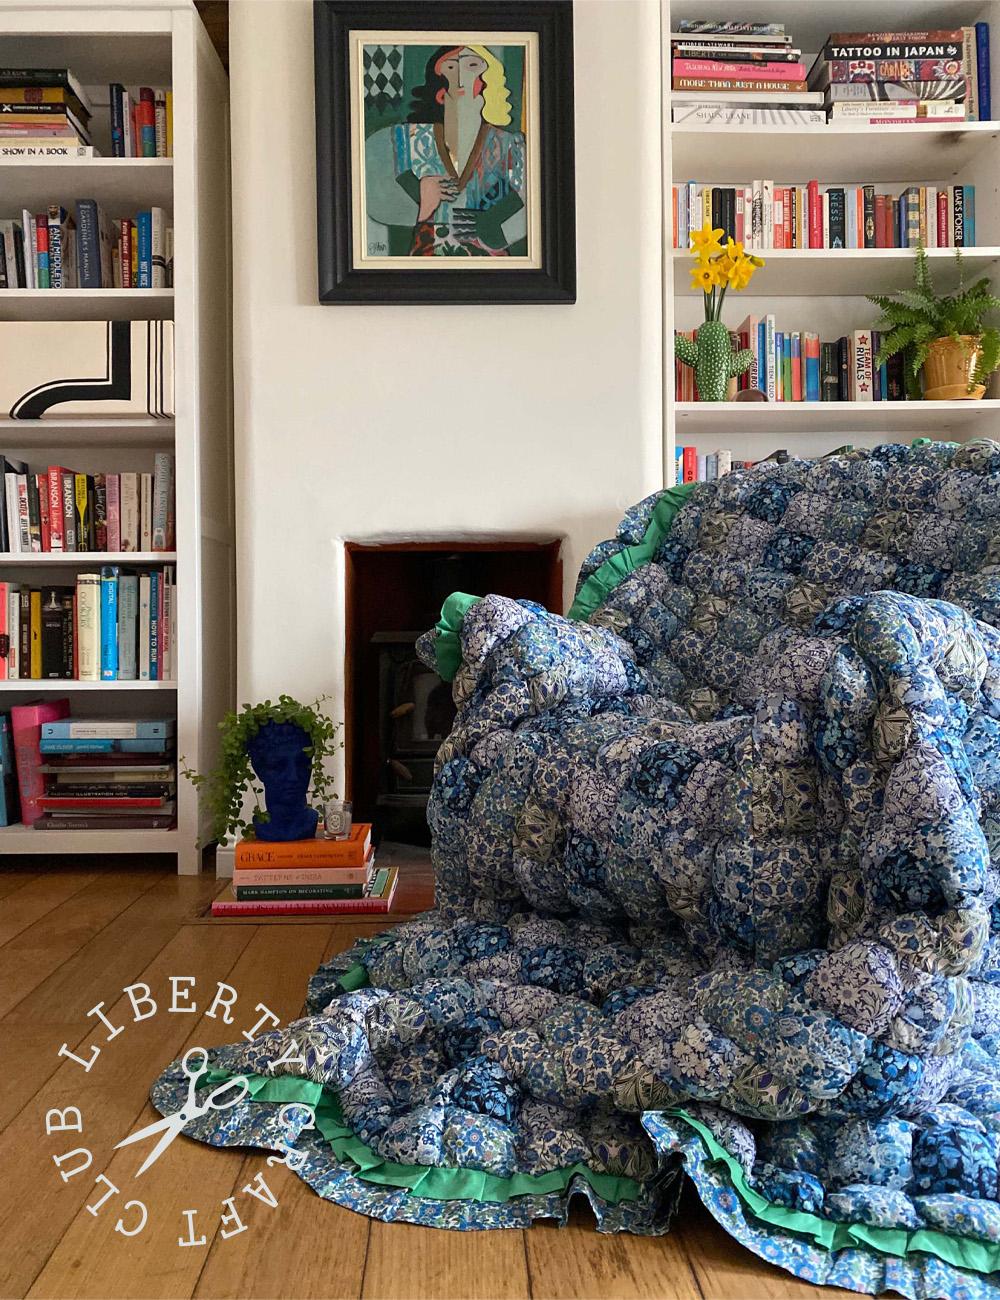
Creating metres of colourful patchworks to achieve a one-of-a-kind piece is about as incentivising as a #LibertyCraftClub project gets – just look at The Patchwork Collective house, currently hanging in our East Atrium. But if a larger-than-life patchwork abode feels slightly beyond your skillset, here's something more manageable yet arguably as impressive: a puff quilt.
If you're asking yourself 'what is a puff quilt?', it's a certain type of quilt in which each square is filled with stuffing, giving it a cloud-like, ultra-snuggly effect. Add some Liberty Tana Lawn™ or Cotton for Quilting magic and you’ve got a truly magnificent task on your hands. Follow our step-by-step tutorial to create your own Liberty puff quilt that’s perfect for cosy nights in or even picnics in the garden.
You Will Need:
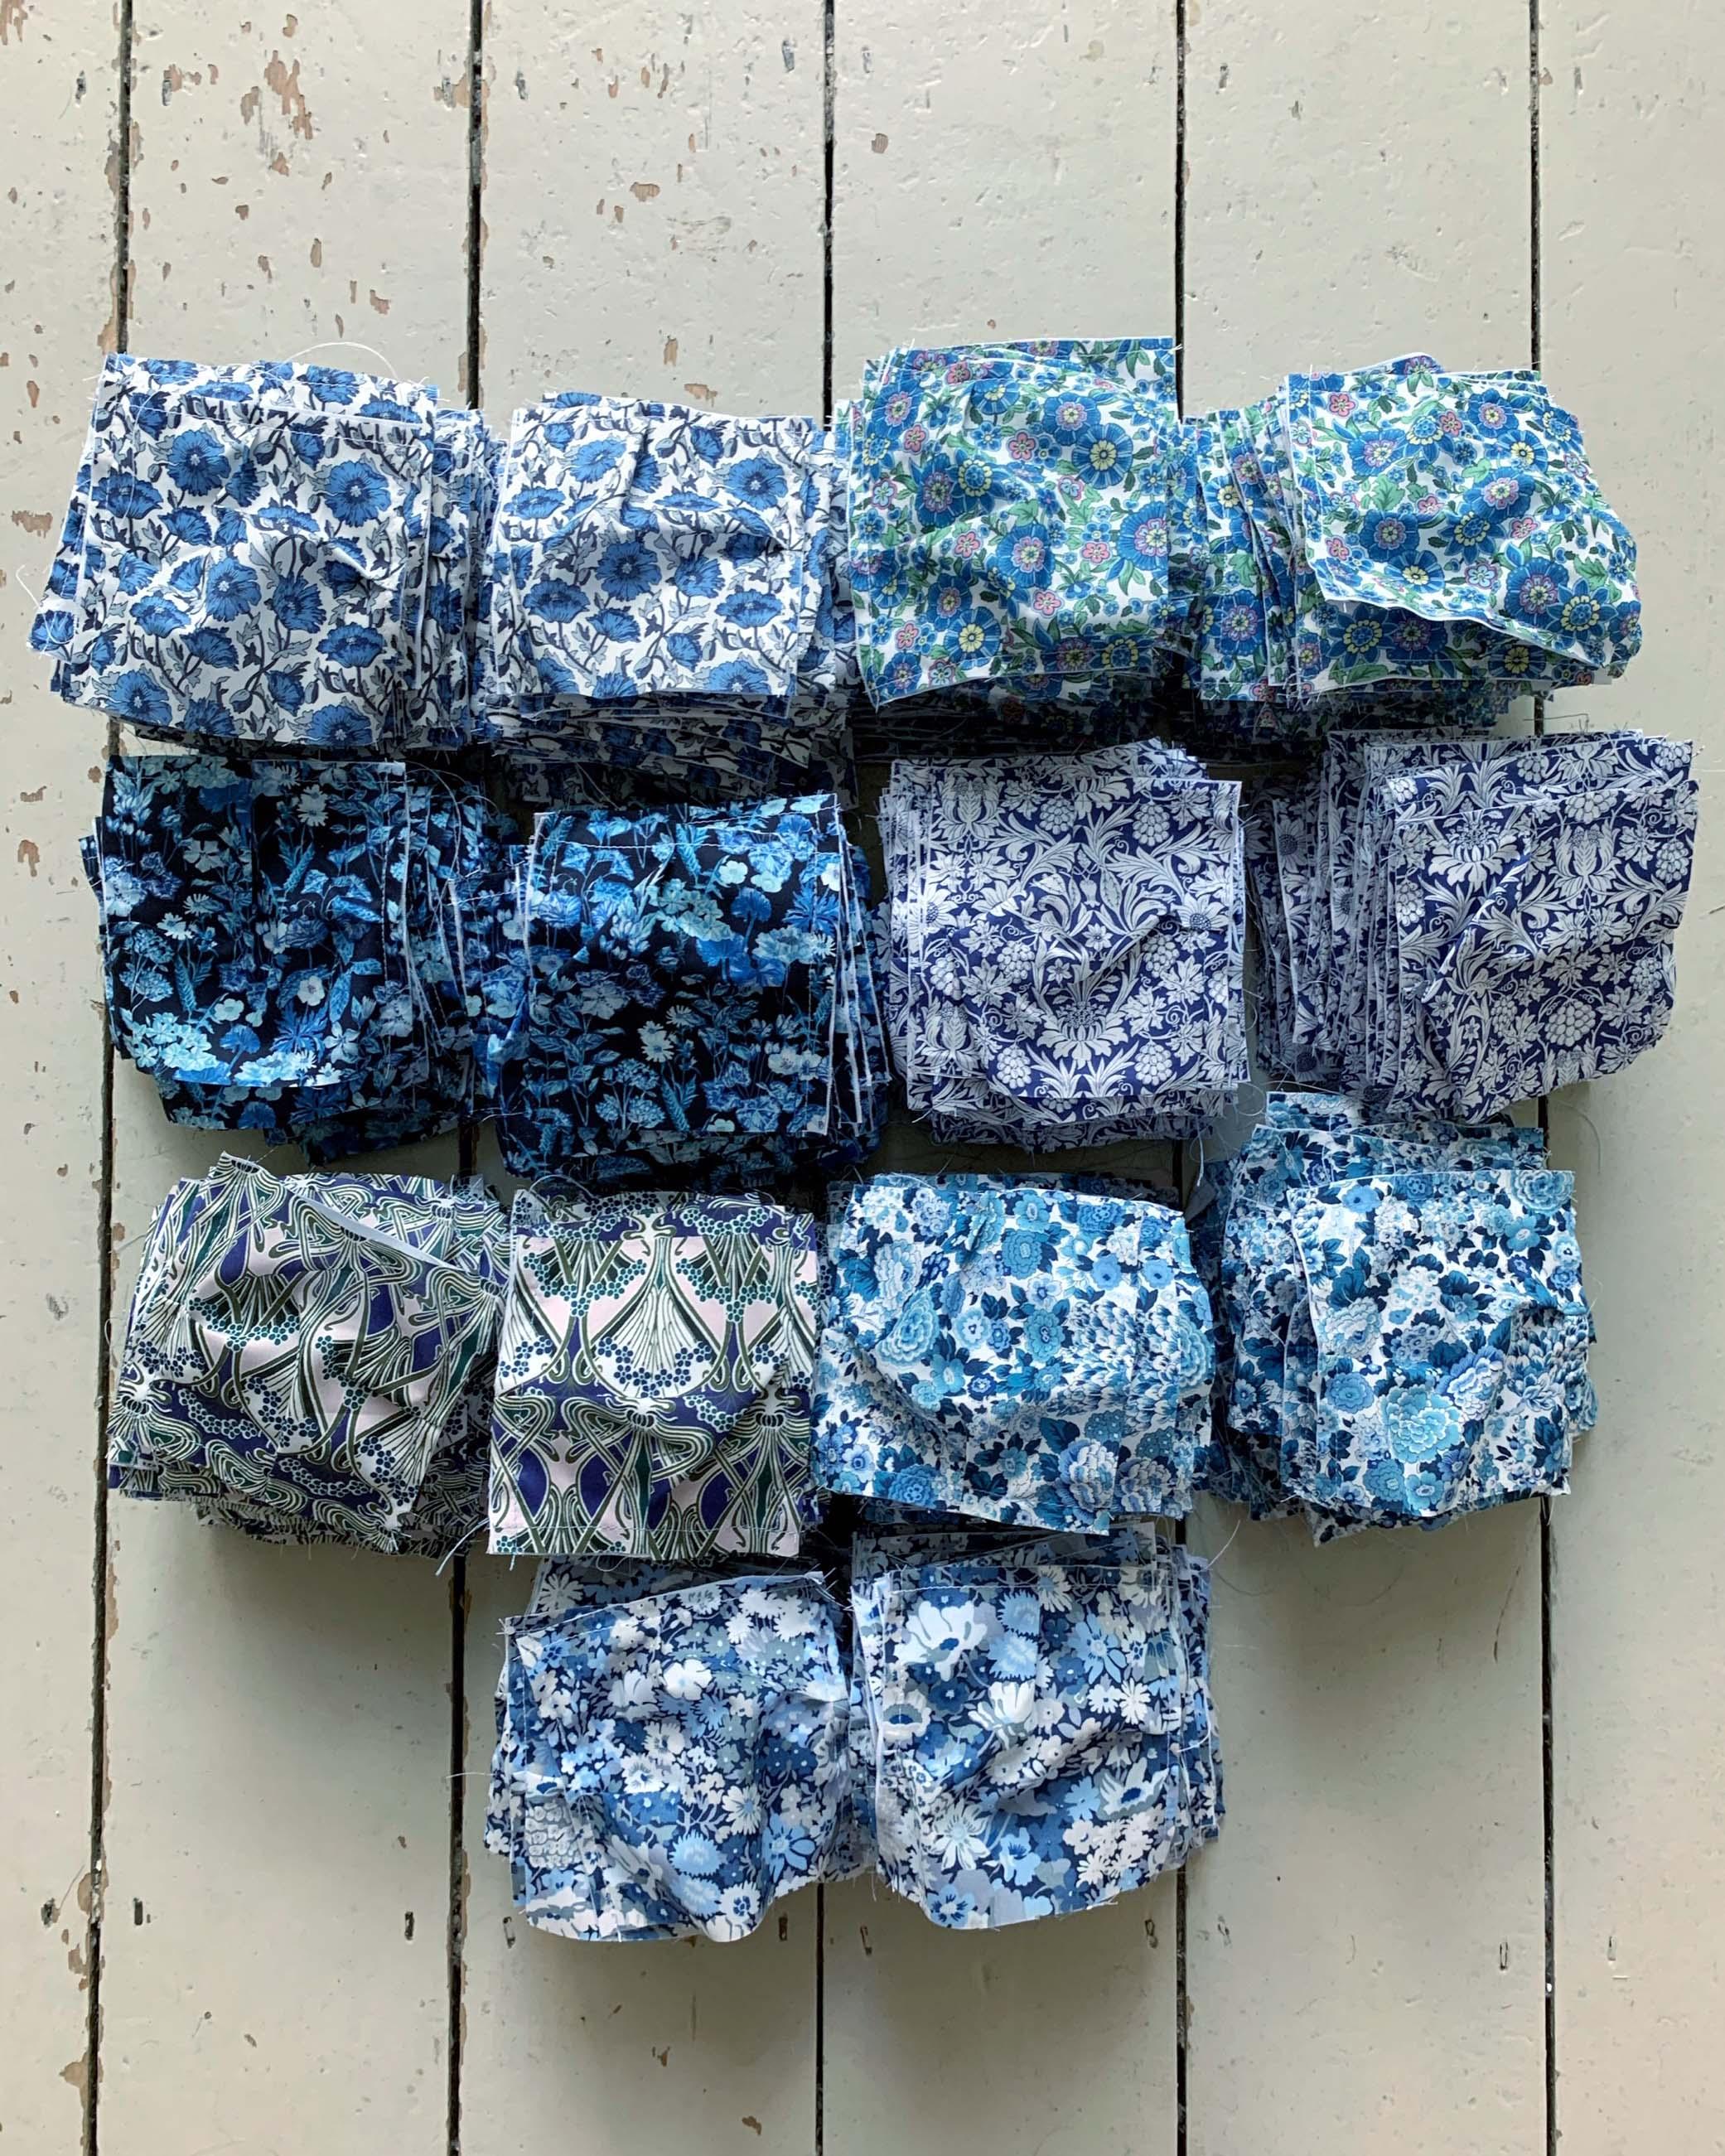
Pick Your Prints
Liberty Fabrics
Marine Blue Emily Belle Lasenby Quilting Cotton
1.
Cut Your Squares
Cut your chosen fabrics into 5x5 inch squares to form your top layer – aka the fabric you want to see! We used 700 individual squares for this project to make a Kingsize quilt. Cut another 700 4.5x4.5 inch squares in a plain fabric (you could even use an old bed sheet for this bit). This is your backing fabric which will be hidden inside the quilt.
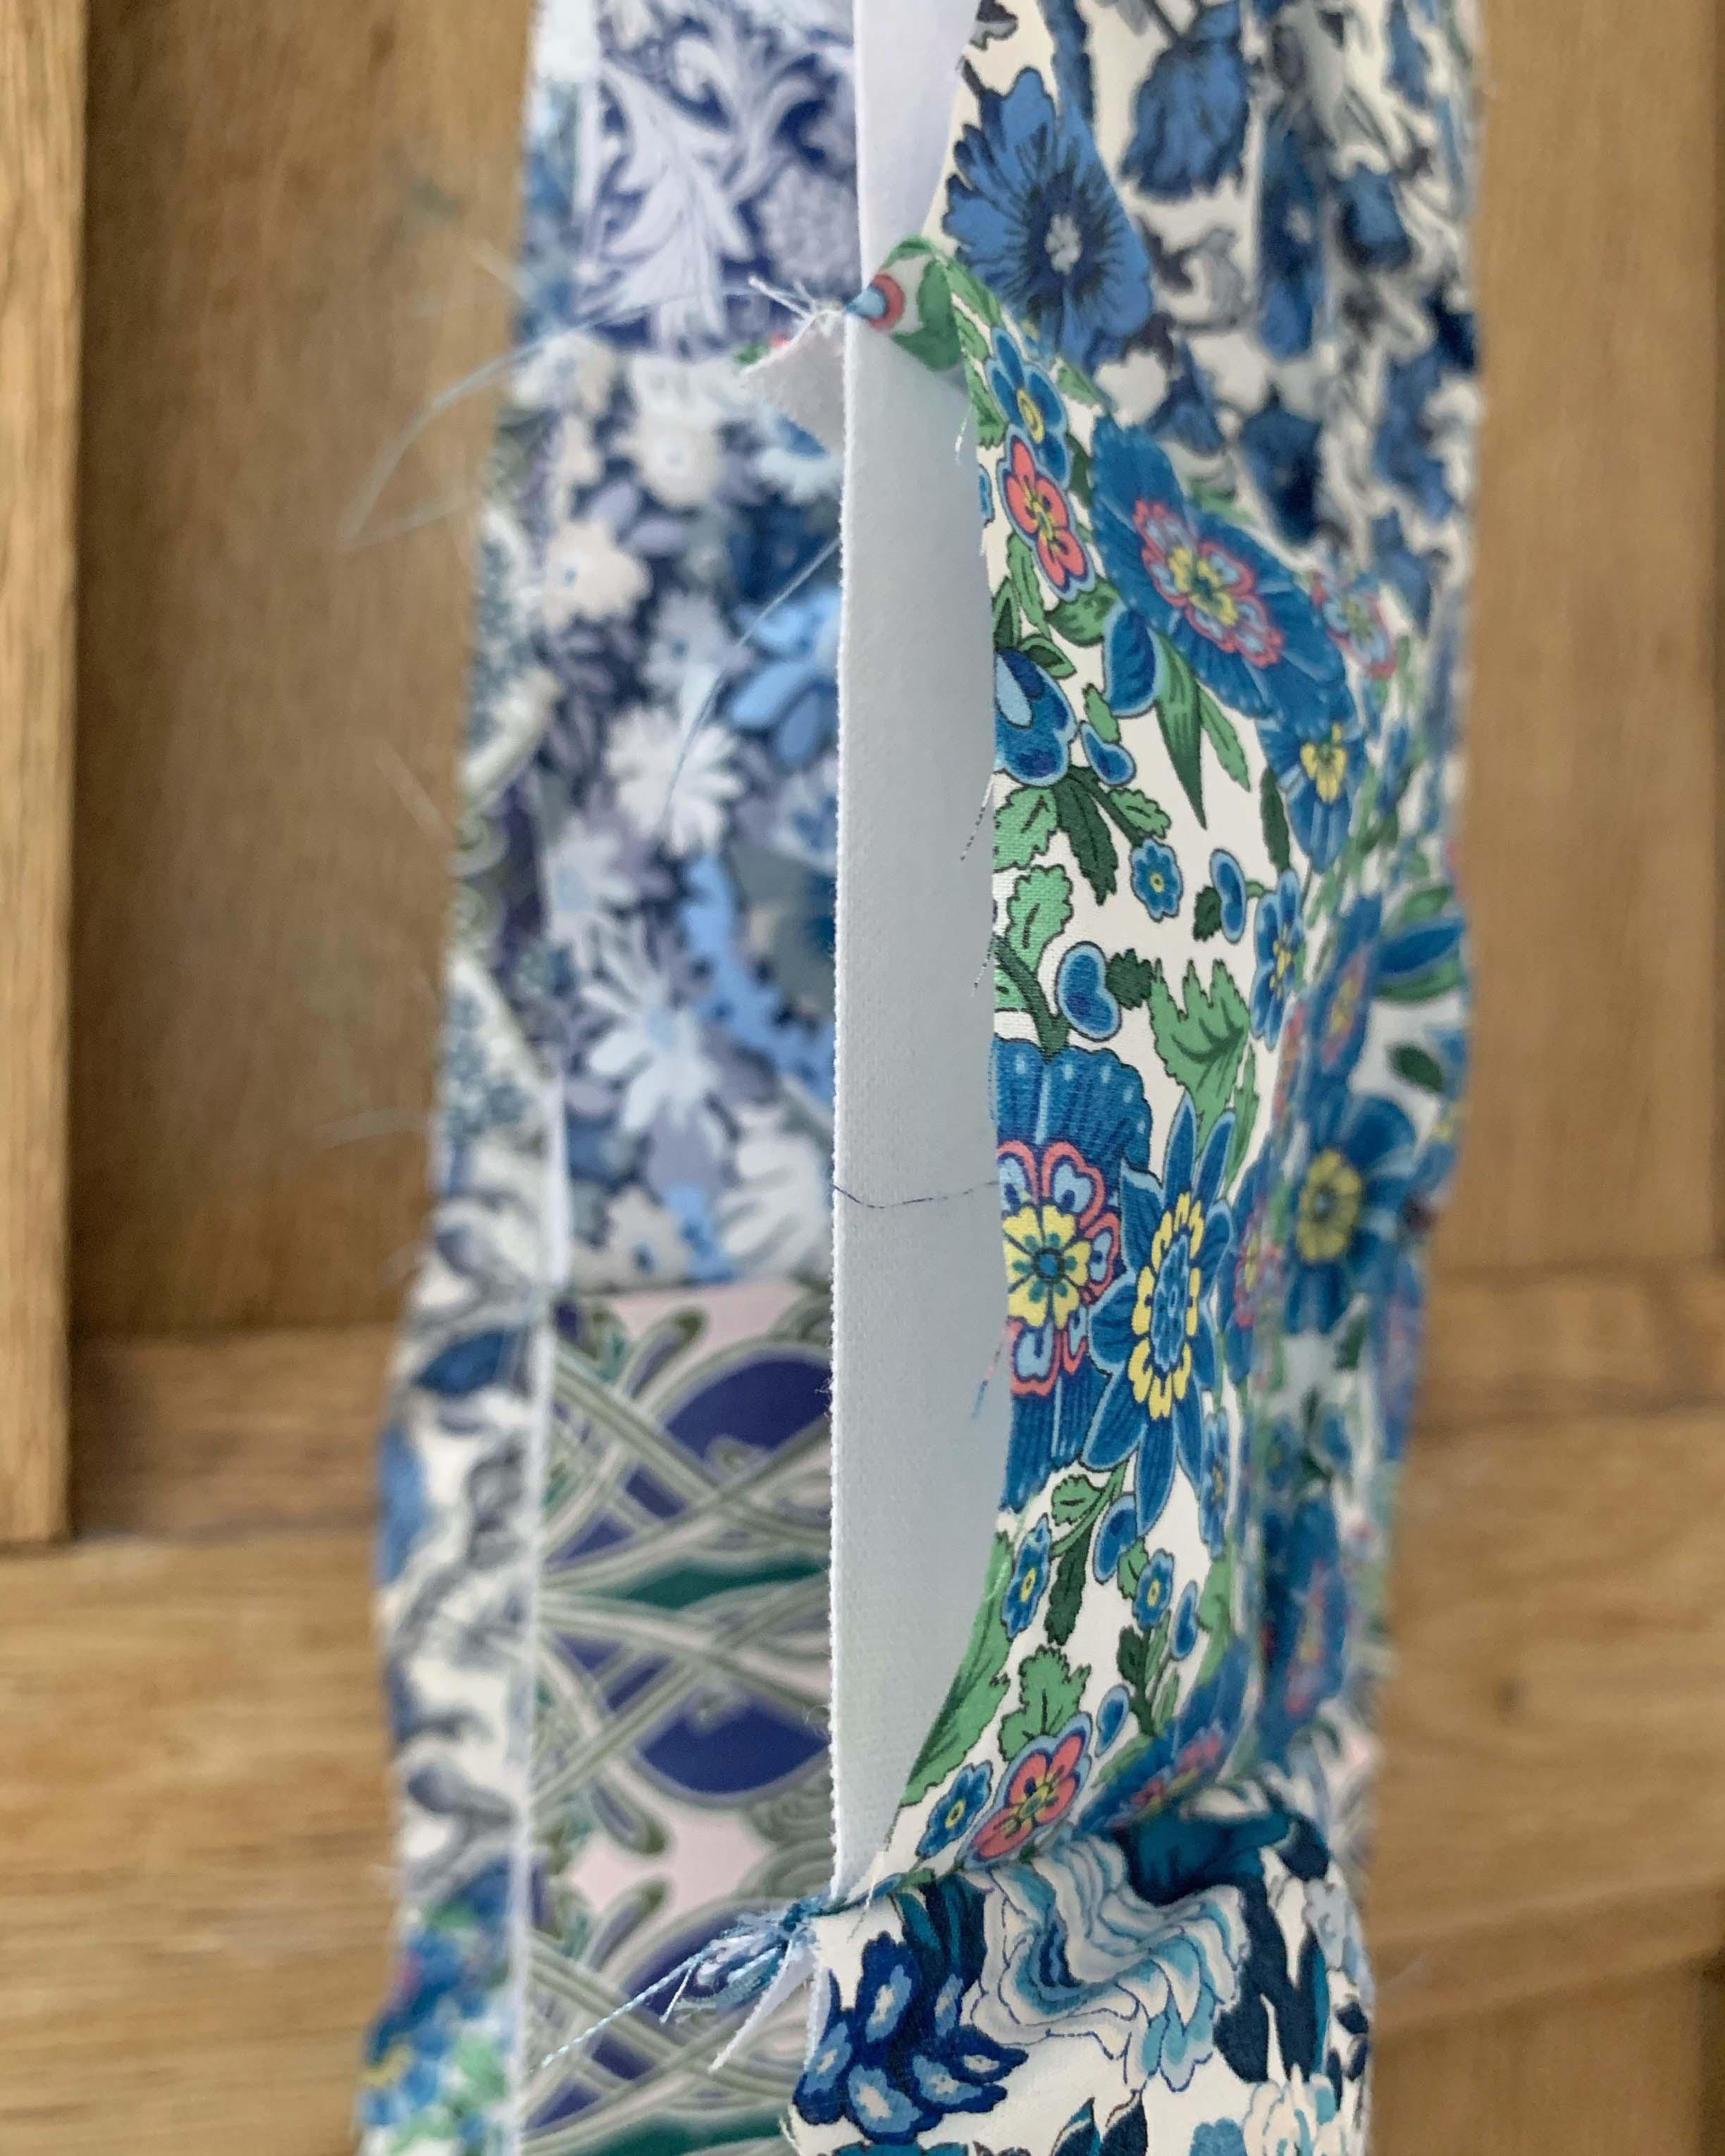
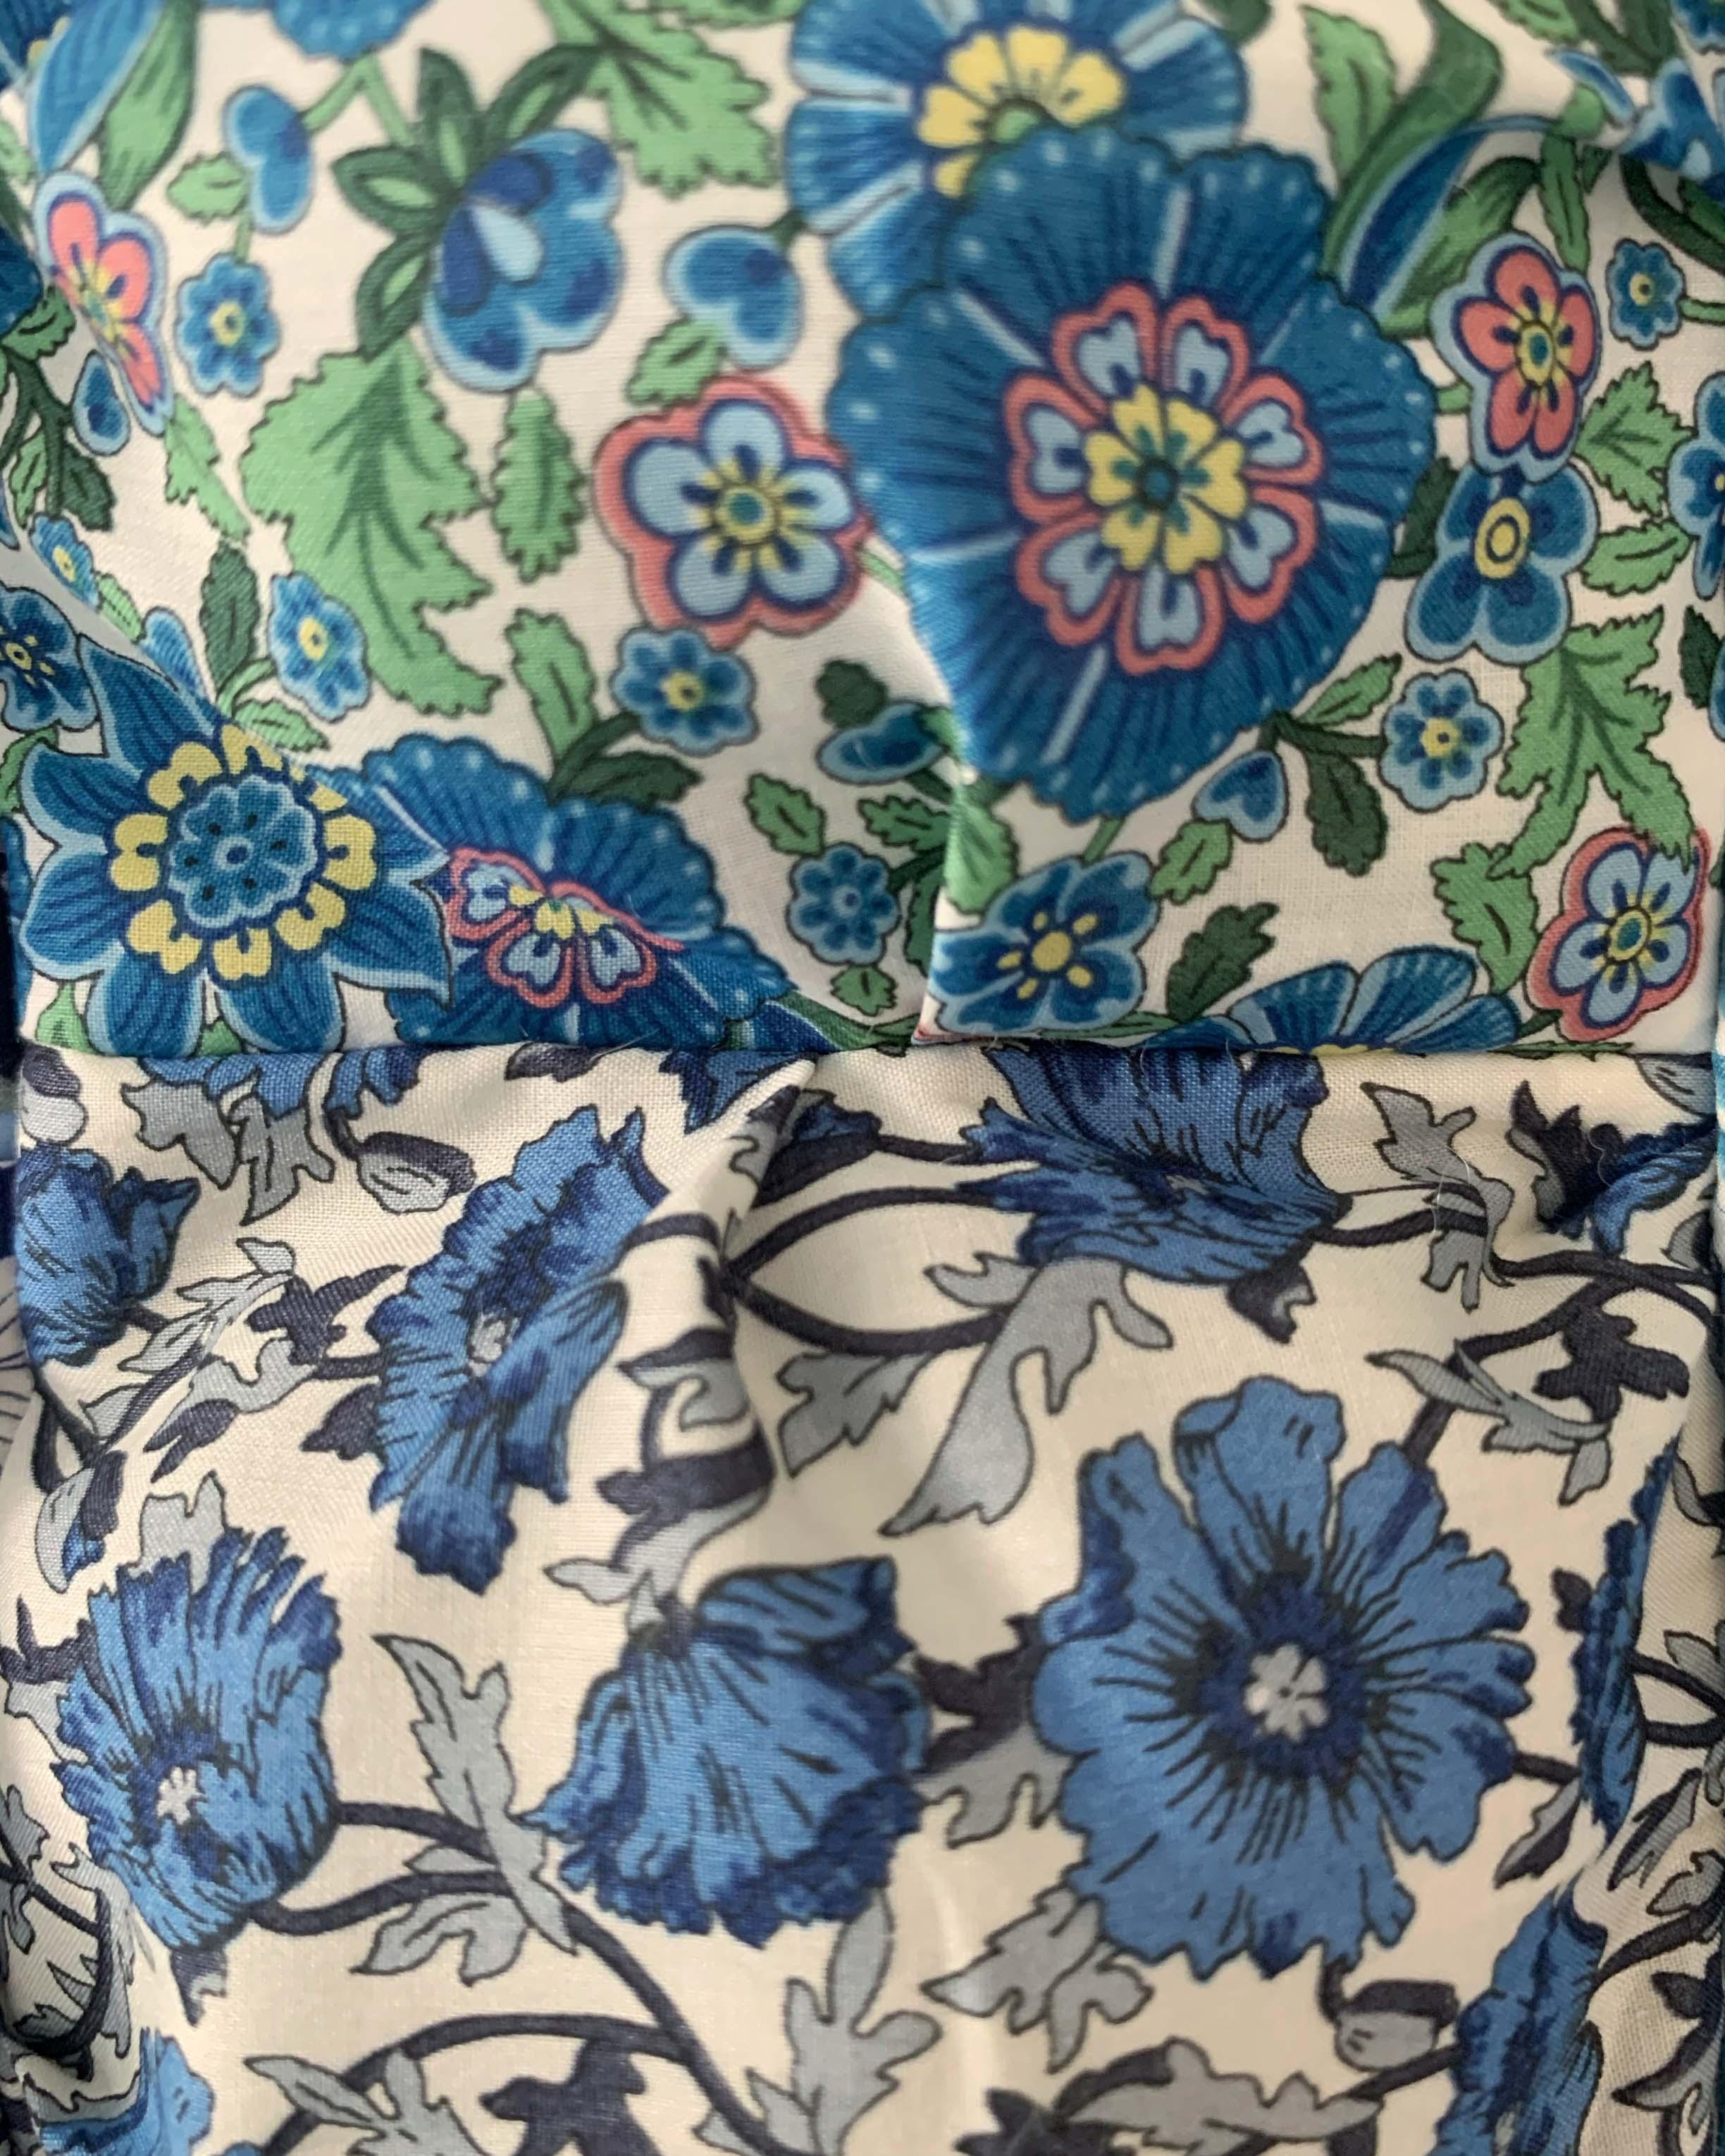
Make Each Pouch
Now for the fiddly bit! You need to create a little pouch out of all 700 squares by sewing your larger, printed squares to an accompanying smaller plain square. Line up each square to fit with ¼ inch tucks.
2.
3.
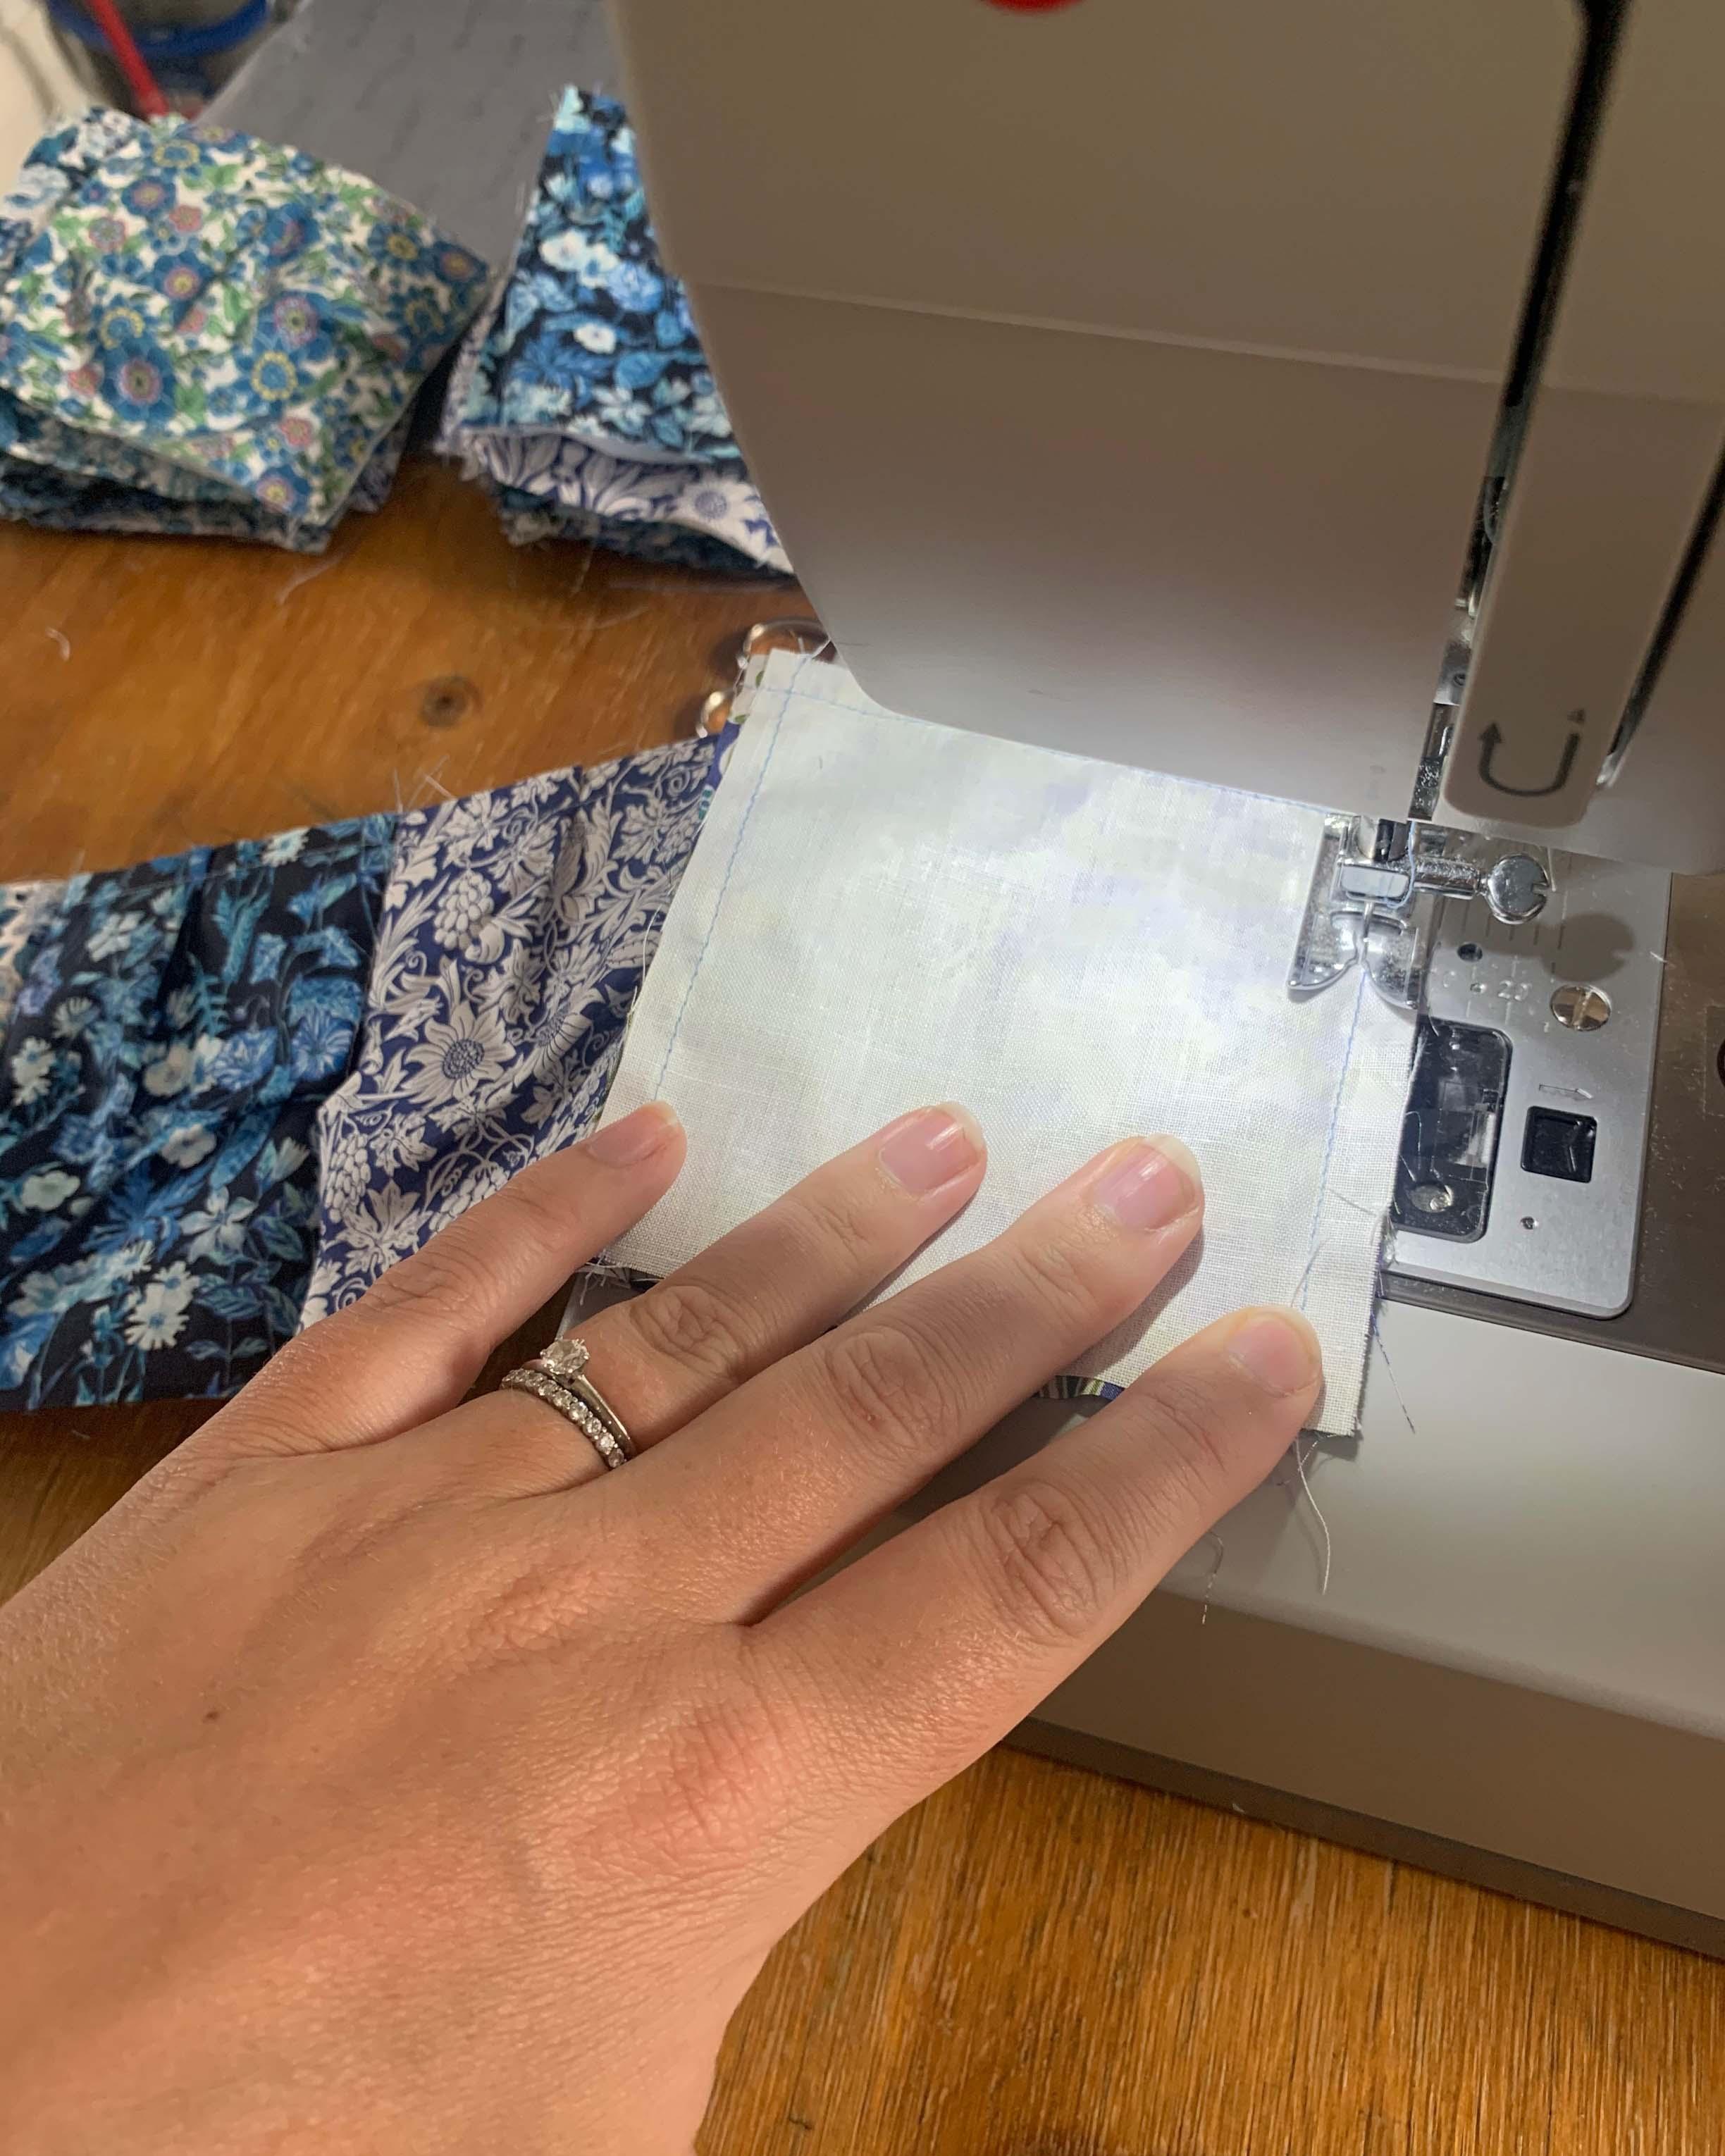
Stitch It
Sew around three sides, leaving one side open to form the pouch, making sure to leave your ¼ inch seam. Do this for all your squares (this may take you a while).
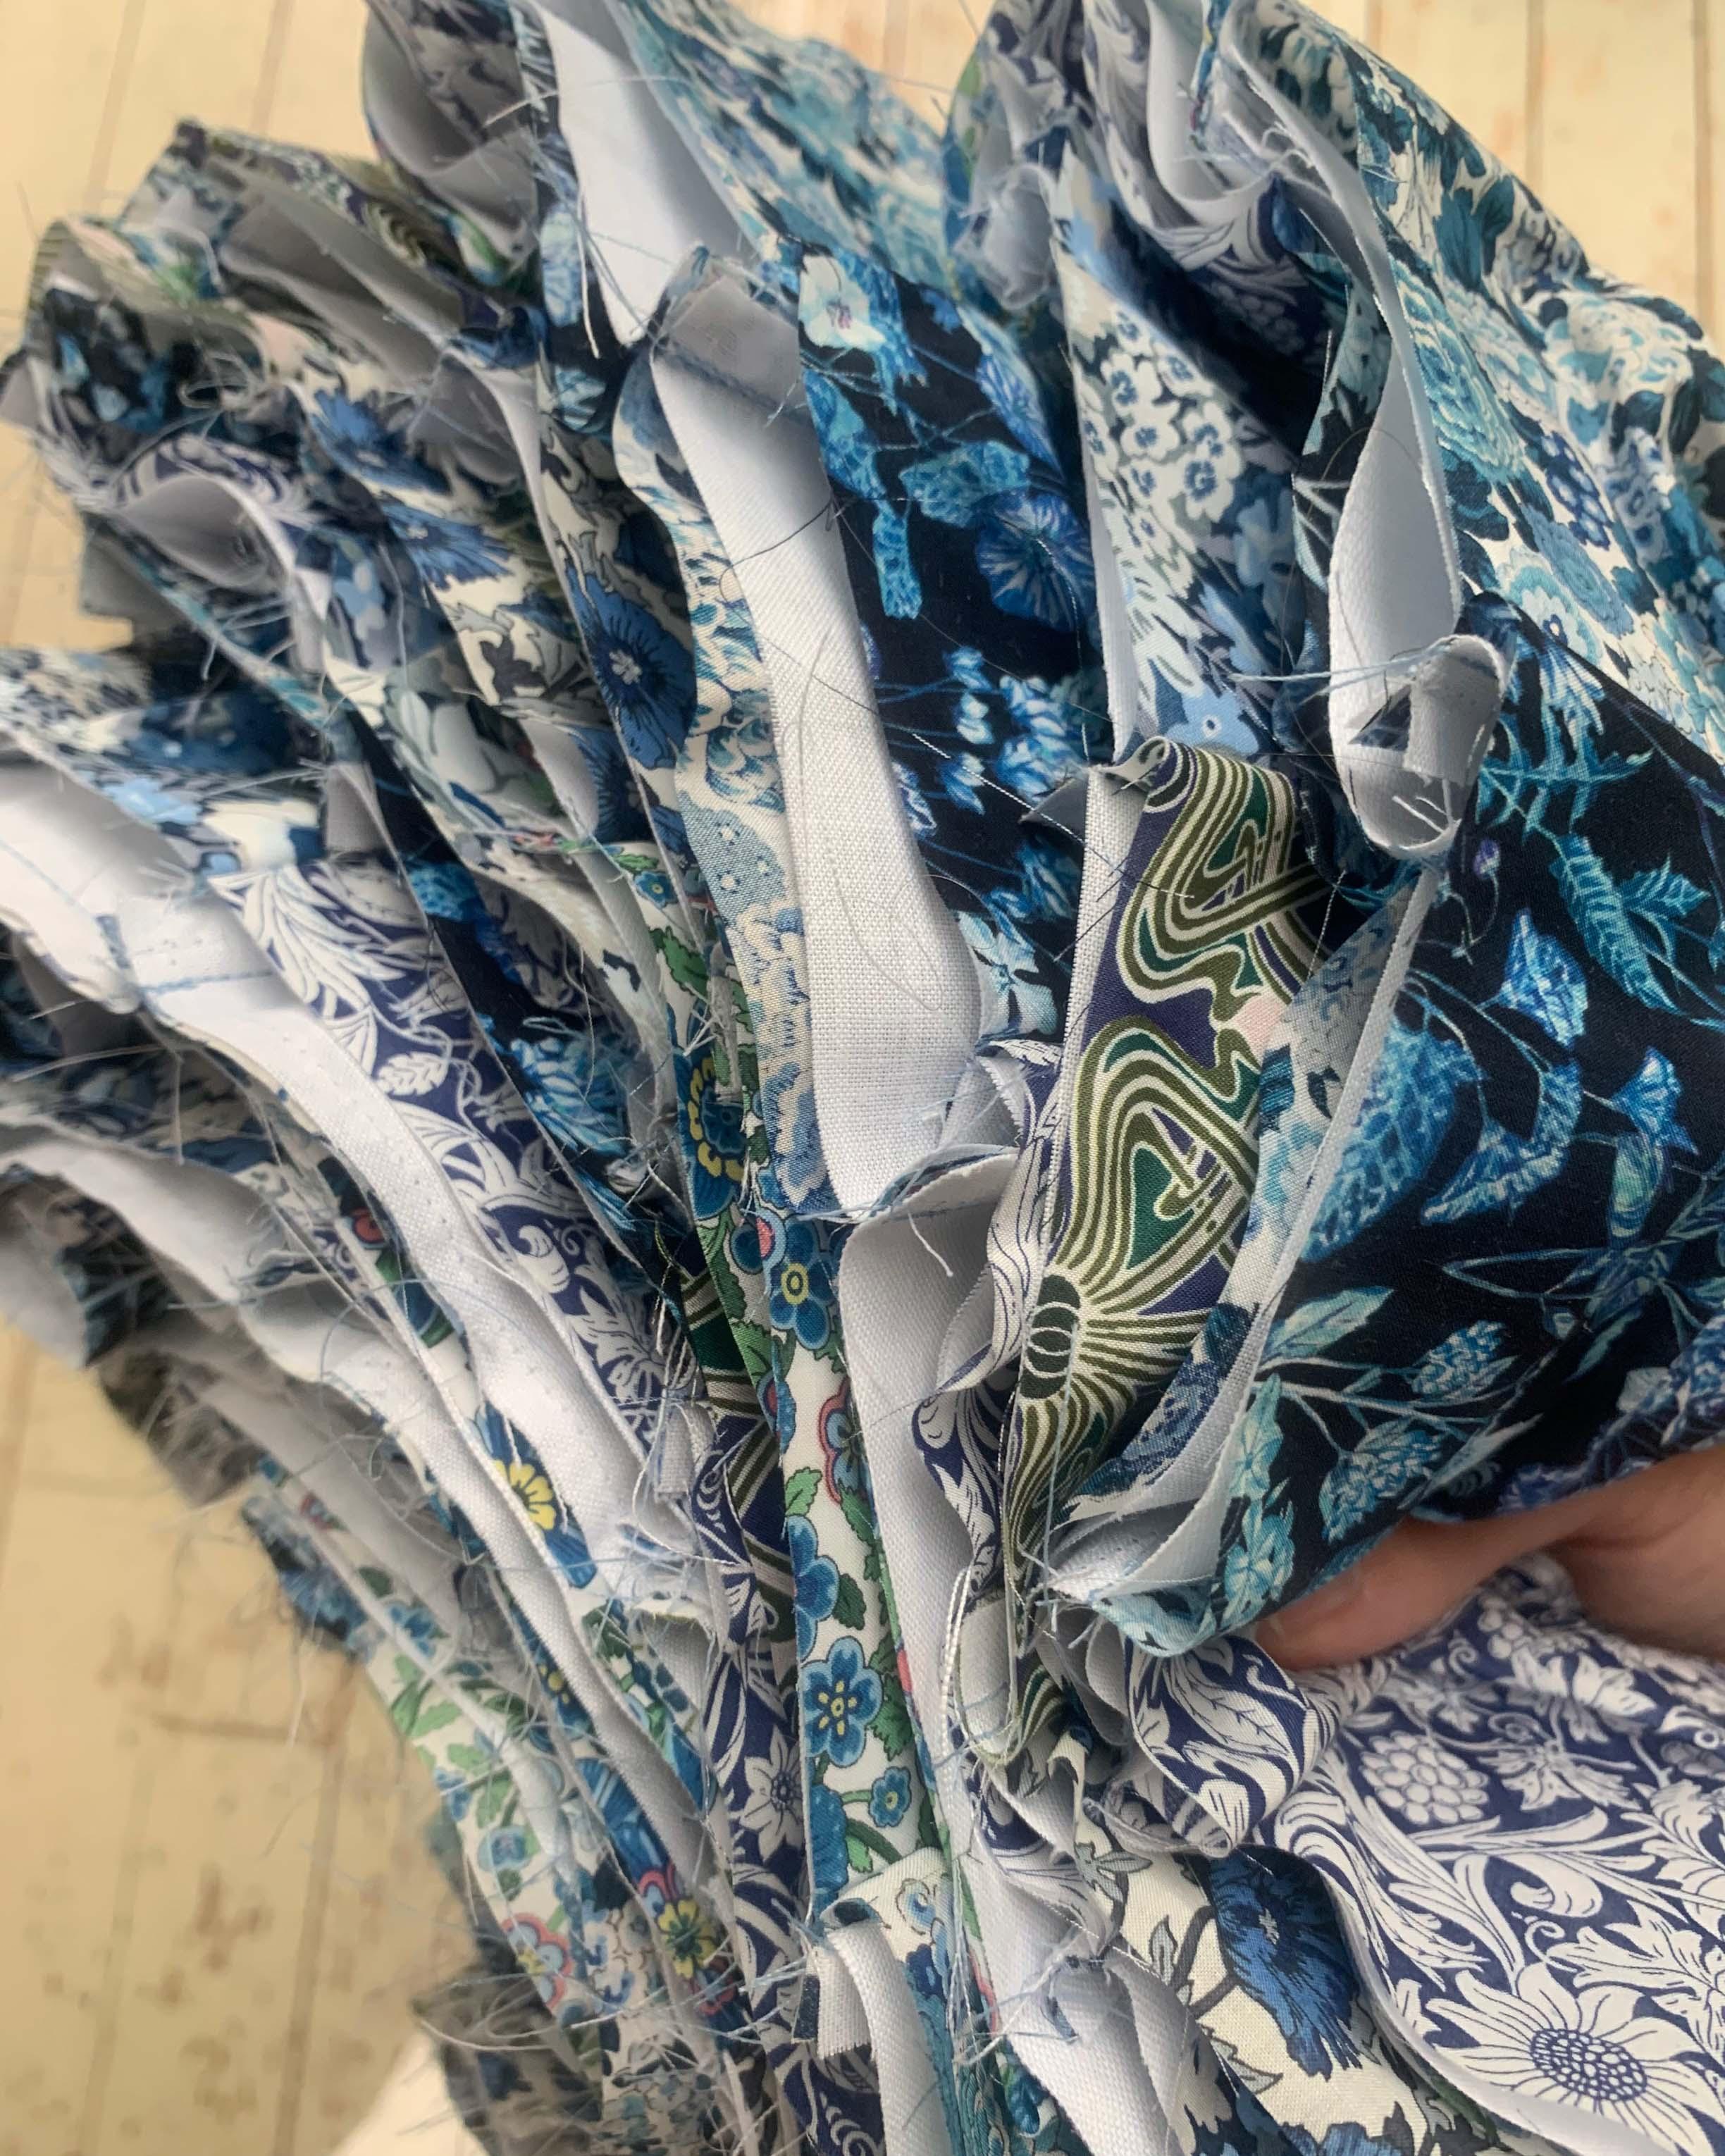
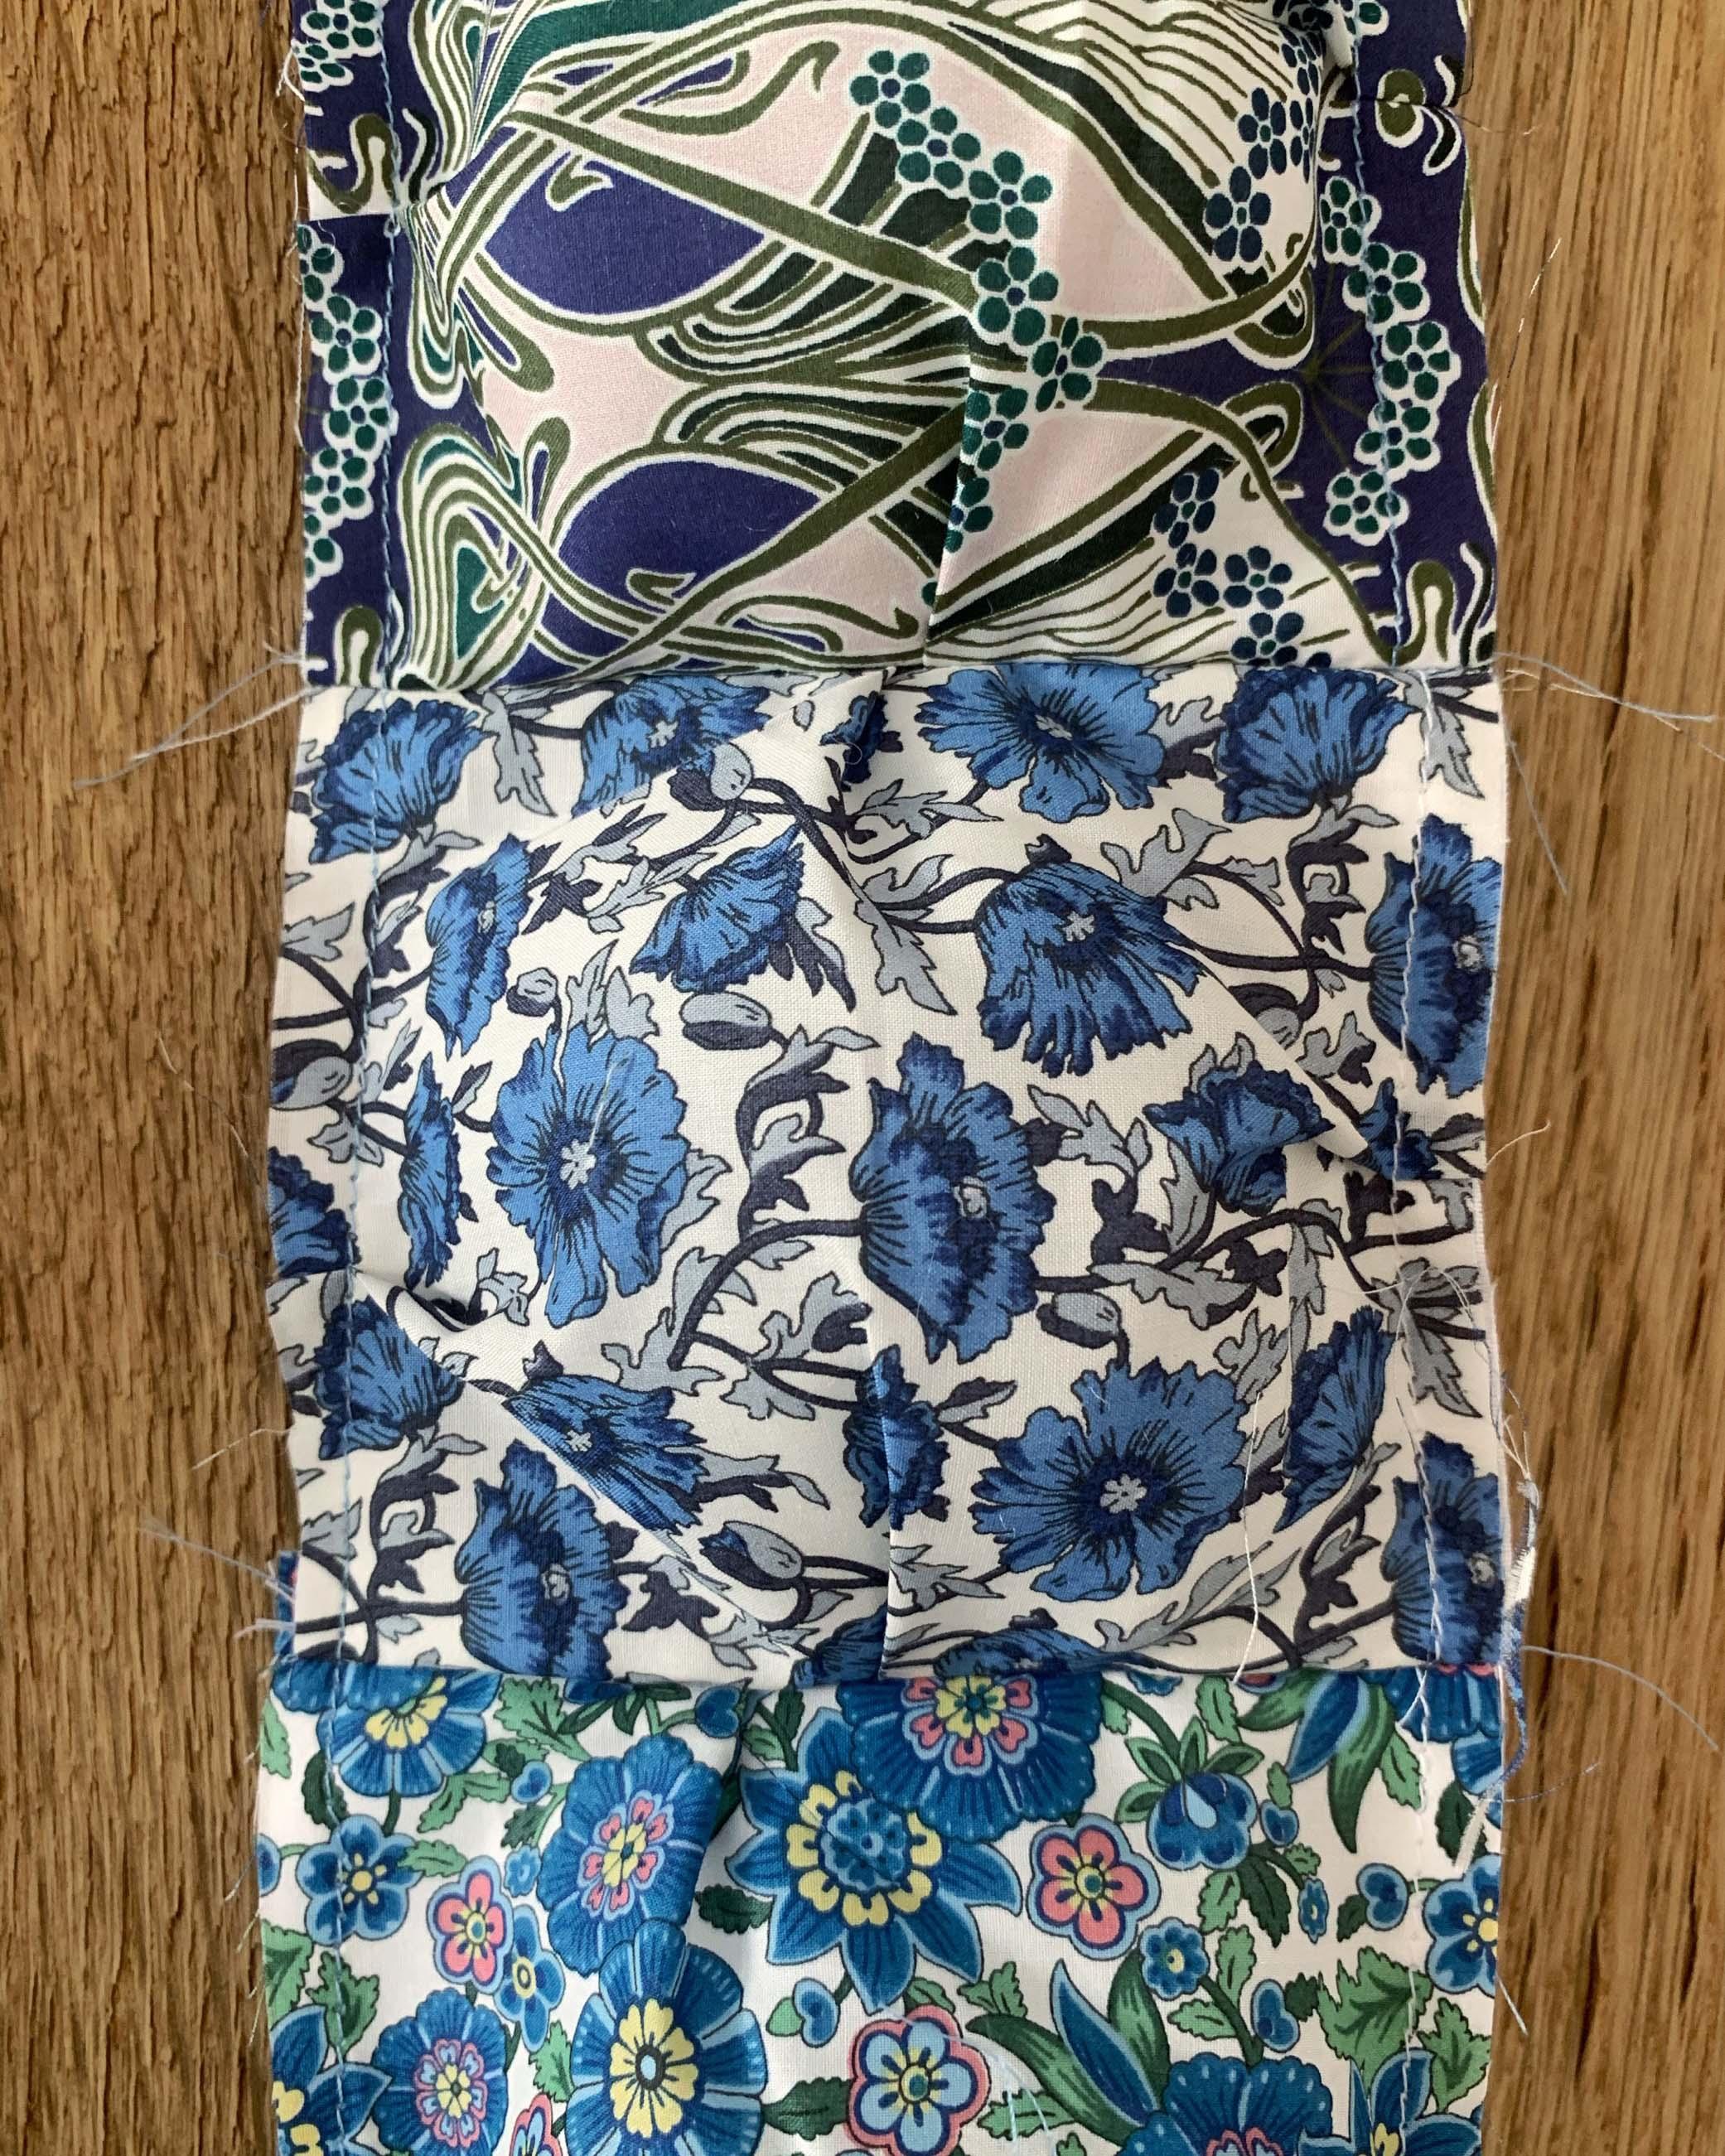
Join Together
Now you need to sew all your pouch squares you’ve made into long lines. We pieced together 26 squares for each line, making sure all of the open sides are along the same side.
4.
5.
Add Stuffing
Take your stuffing and fill each pouch. We used hollow fibre for our quilt as it’s a lighter, more breathable filling. Ensure you don’t overstuff your pouches or it’ll make the quilt too firm to work with (and less cosy).
Close Your Pouches
Sew a ¼ inch seam along the open edges, being careful not to trap your stuffing into your stitch as you go. These will form your final quilt squares so take care to stitch as straight as possible along the seam edge to help you when you match everything up.
6.
7.
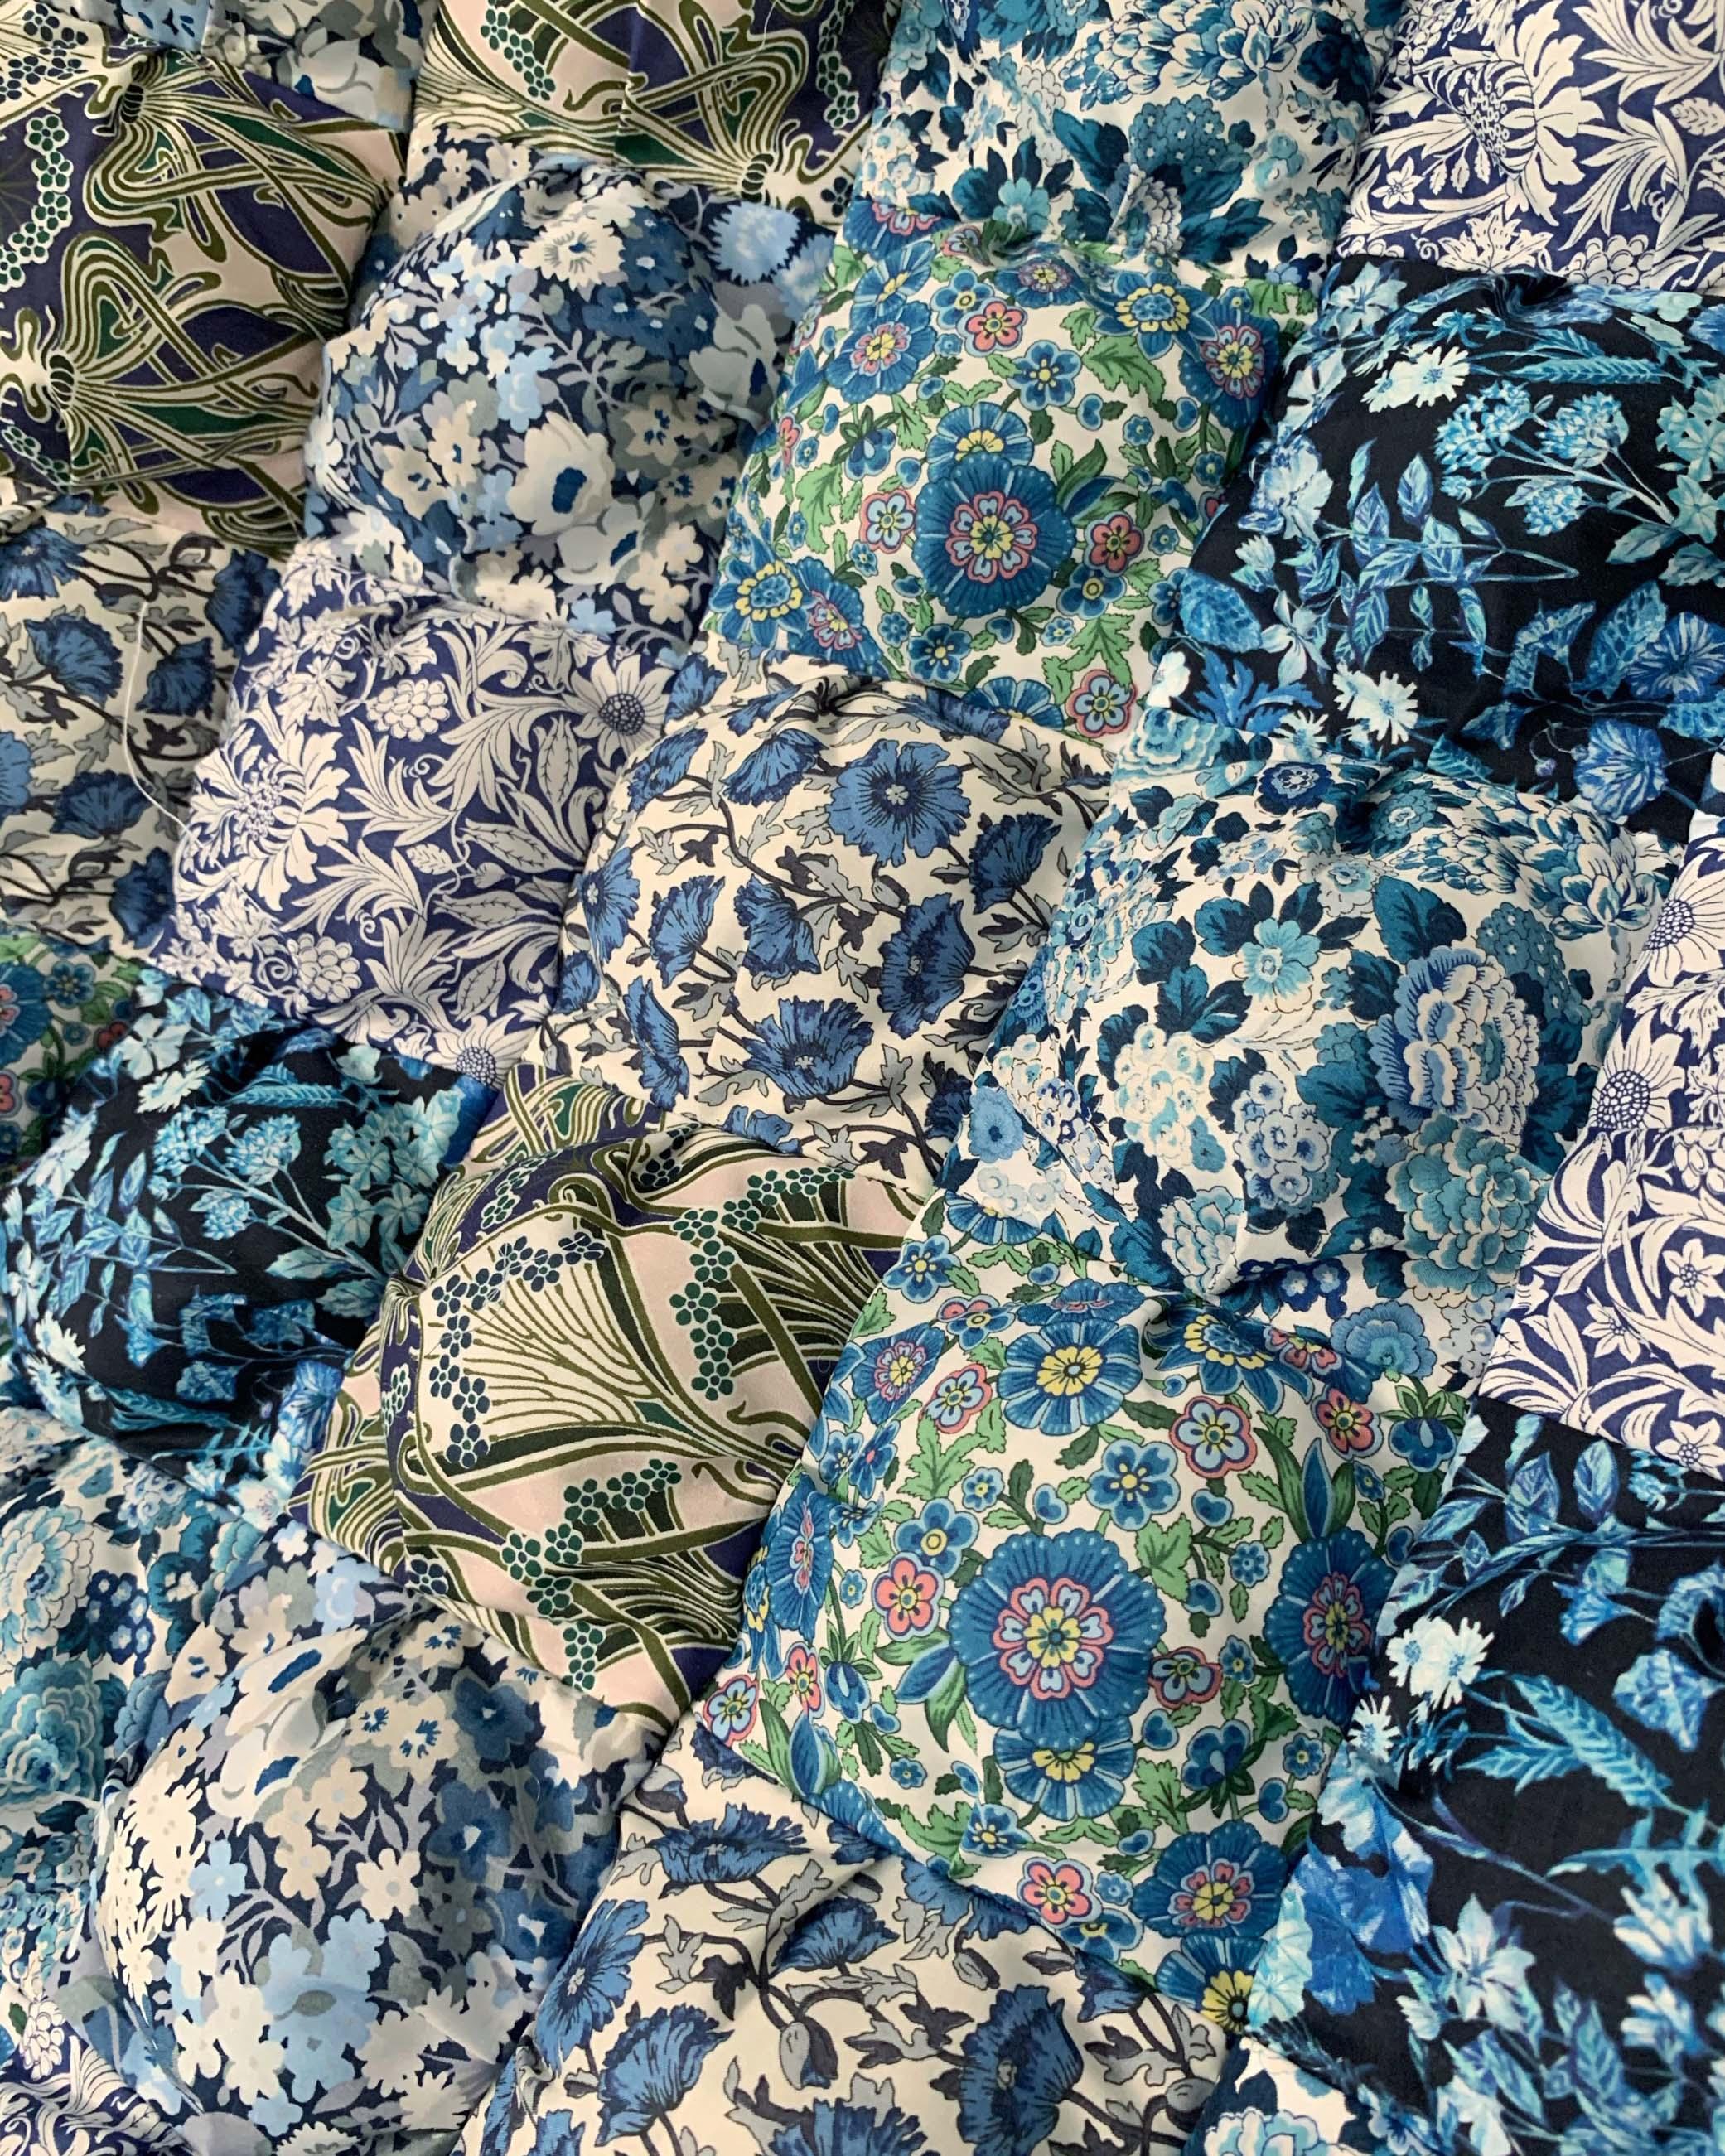
One Big Square
Now for the fun part! Join all of your long strips of stuffed squares together to form your quilt making sure that your squares line up both vertically and horizontally.
Back It Up
You will now need to back your entire quilt with fabric to hide the back of your squares and give you an extra layer of warmth. You can stick to a plain fabric here or double-down on Liberty Tana Lawn™ with a contrasting print.
8.

9.
Hide Your Edges
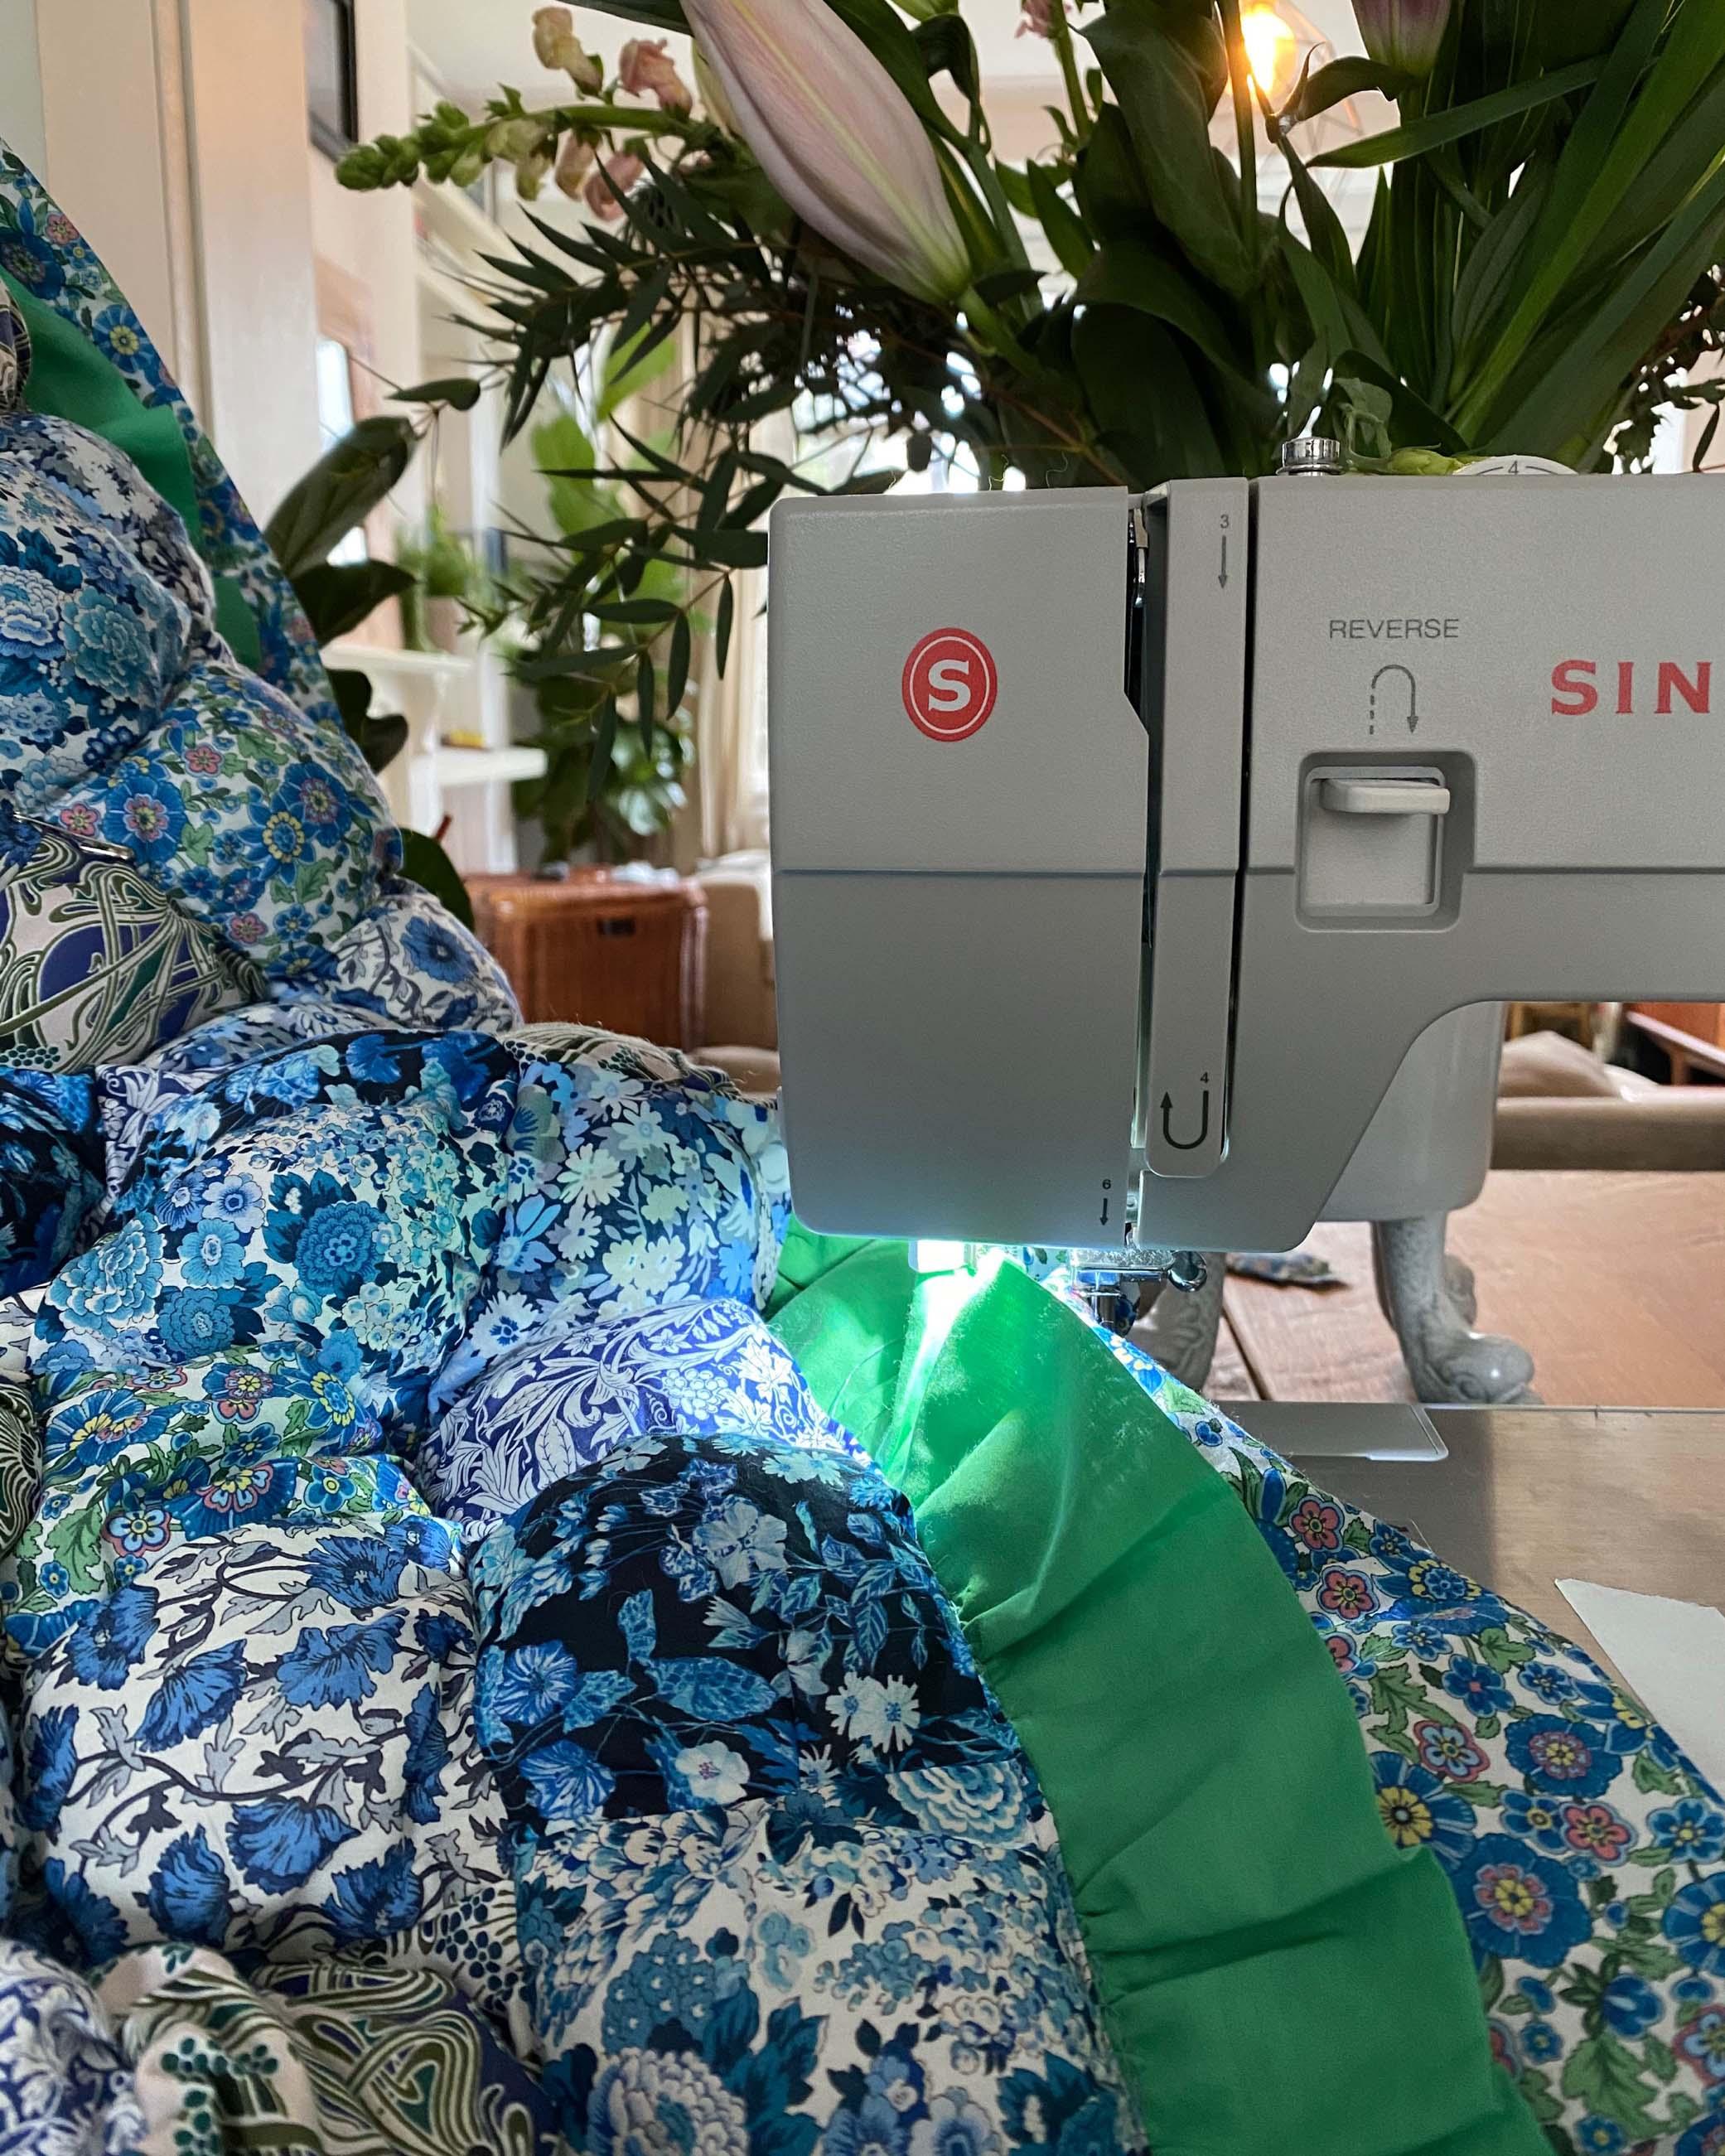
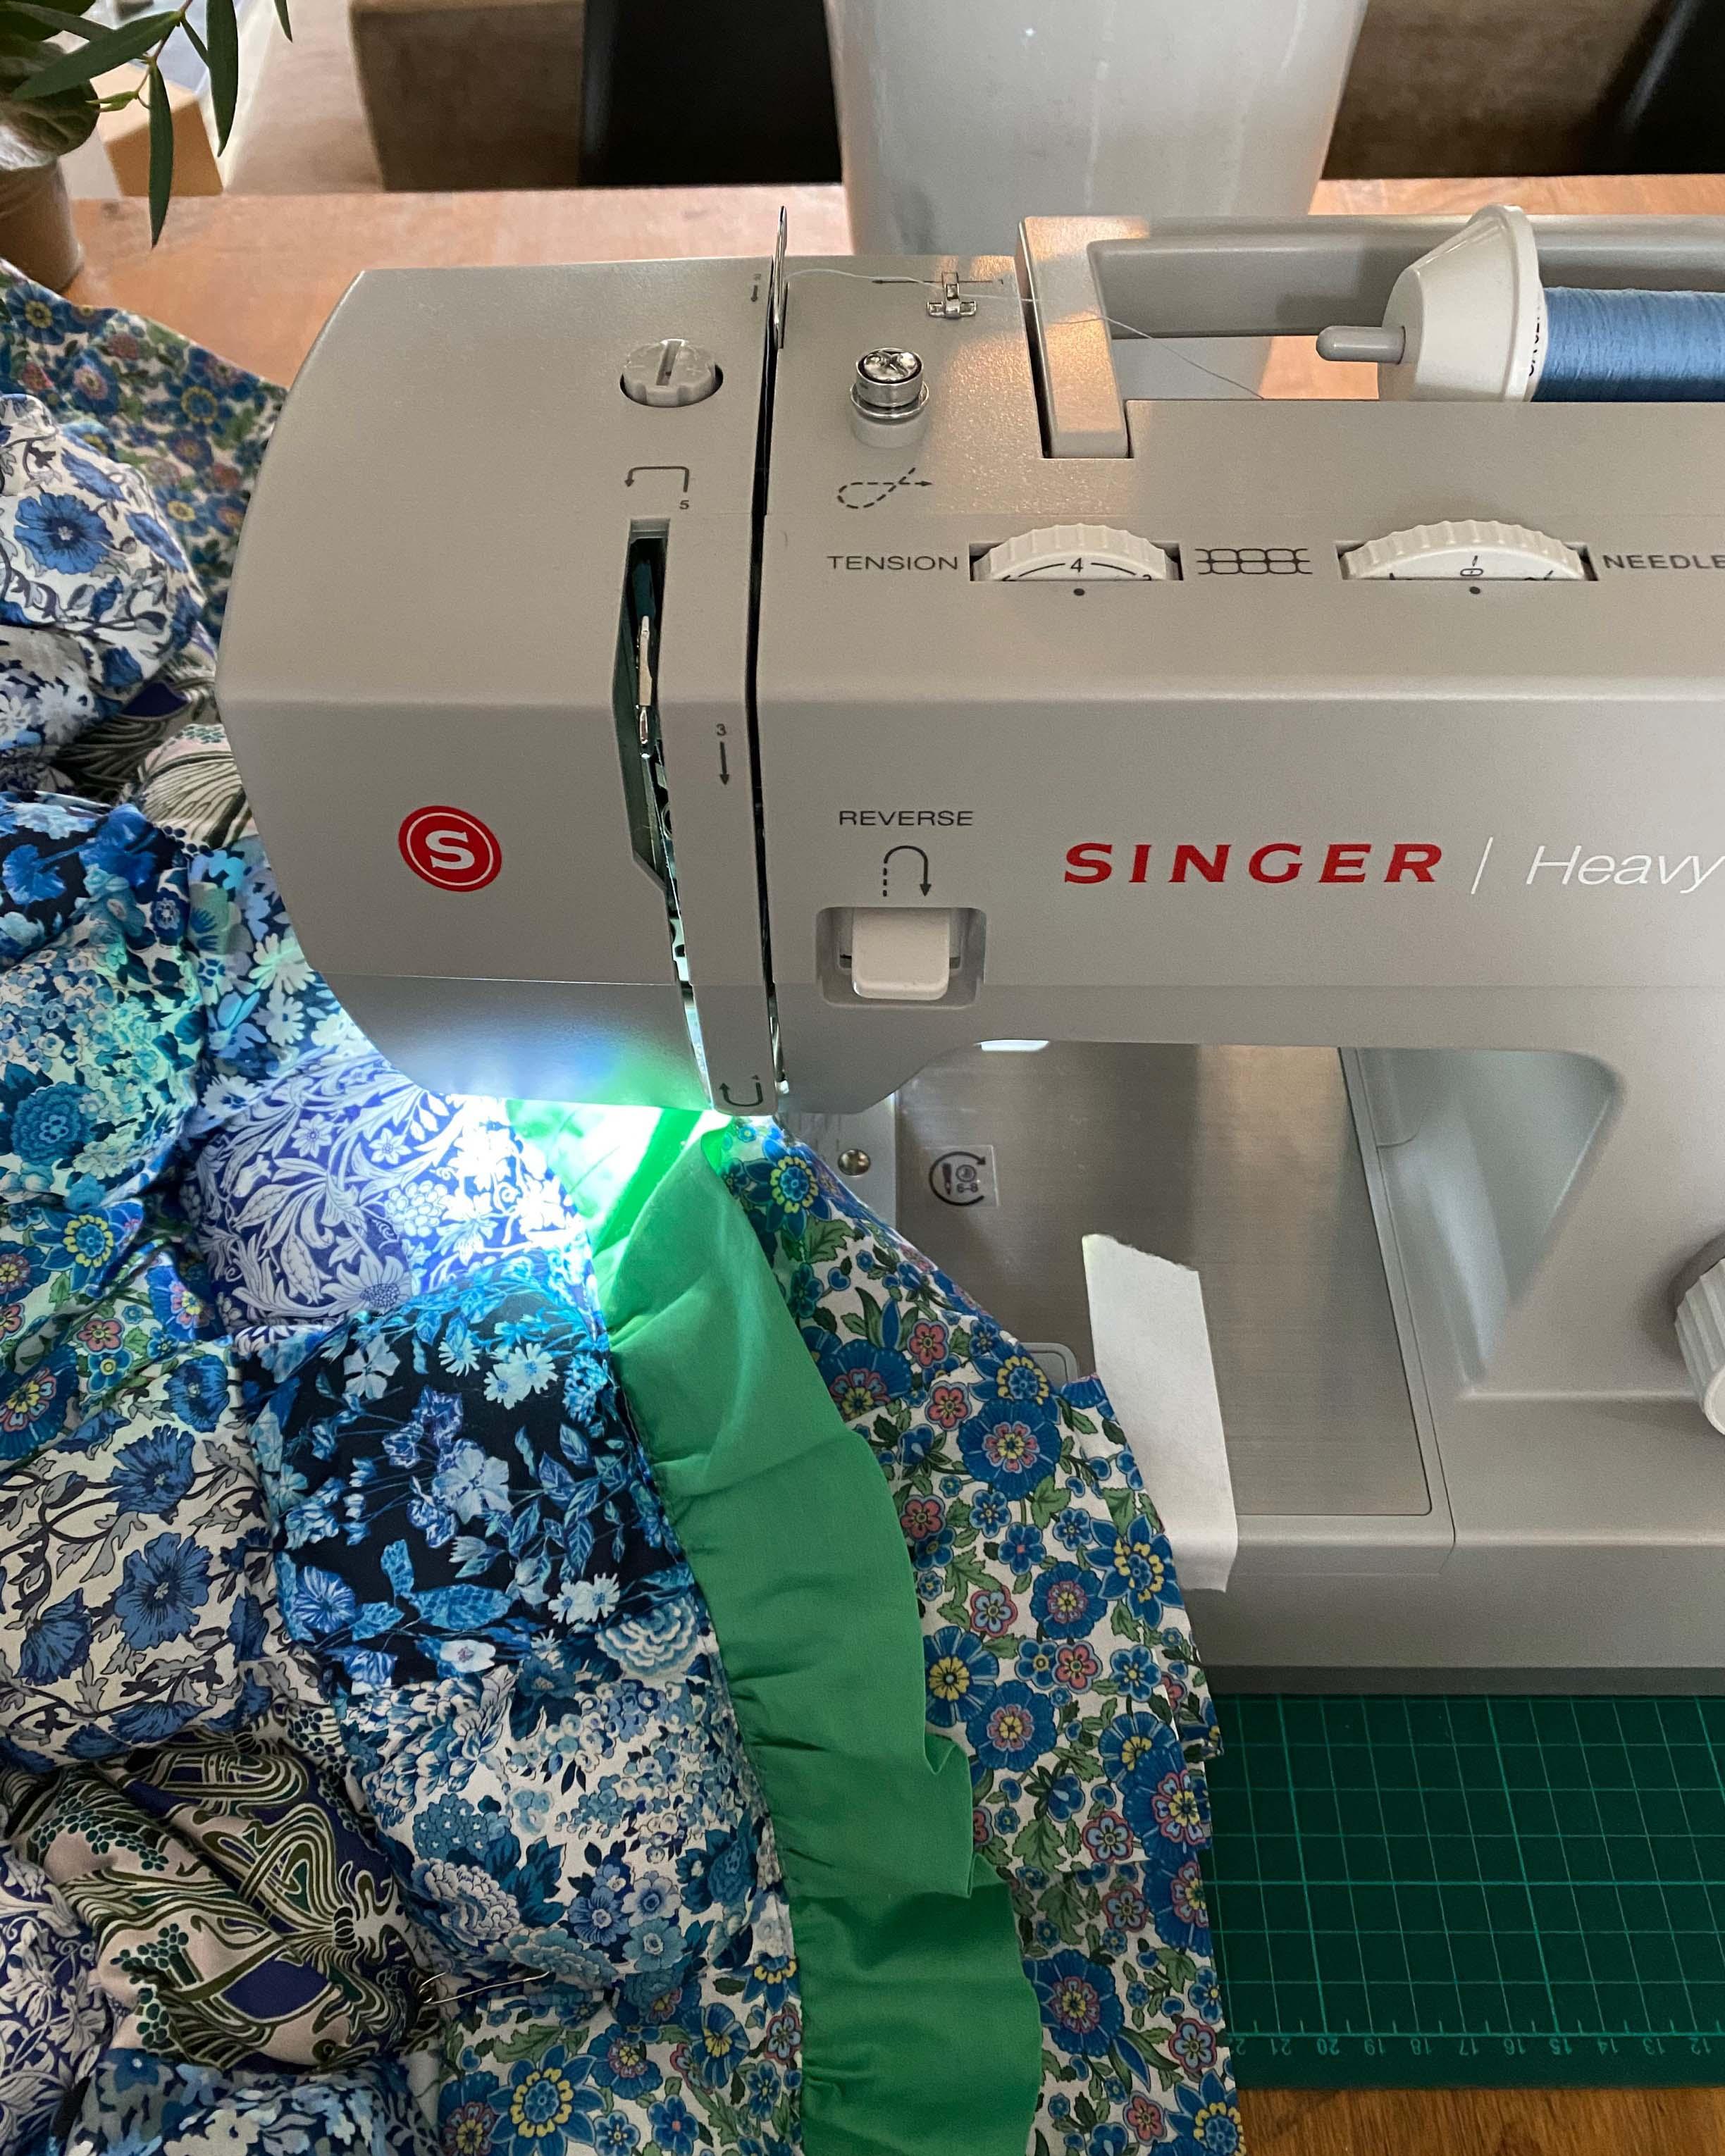
To edge your quilt, a double frill is just the thing to tidy up edges and add some drama. We went for a 2.5 inch plain green ruffle, followed by a 5 inch Liberty print ruffle. You will need to cut full lengths of your ruffle strips to the circumference of the quilt.
The Final Touch
Pin and sew your inner ruffle first using the gathering foot on your sewing machine. Stitch along the raw edge of your strip by holding your finger behind the foot while pressing the fabric to create a ruffle. Repeat the step with your bigger ruffle and attach to your quilt.
10.
11.
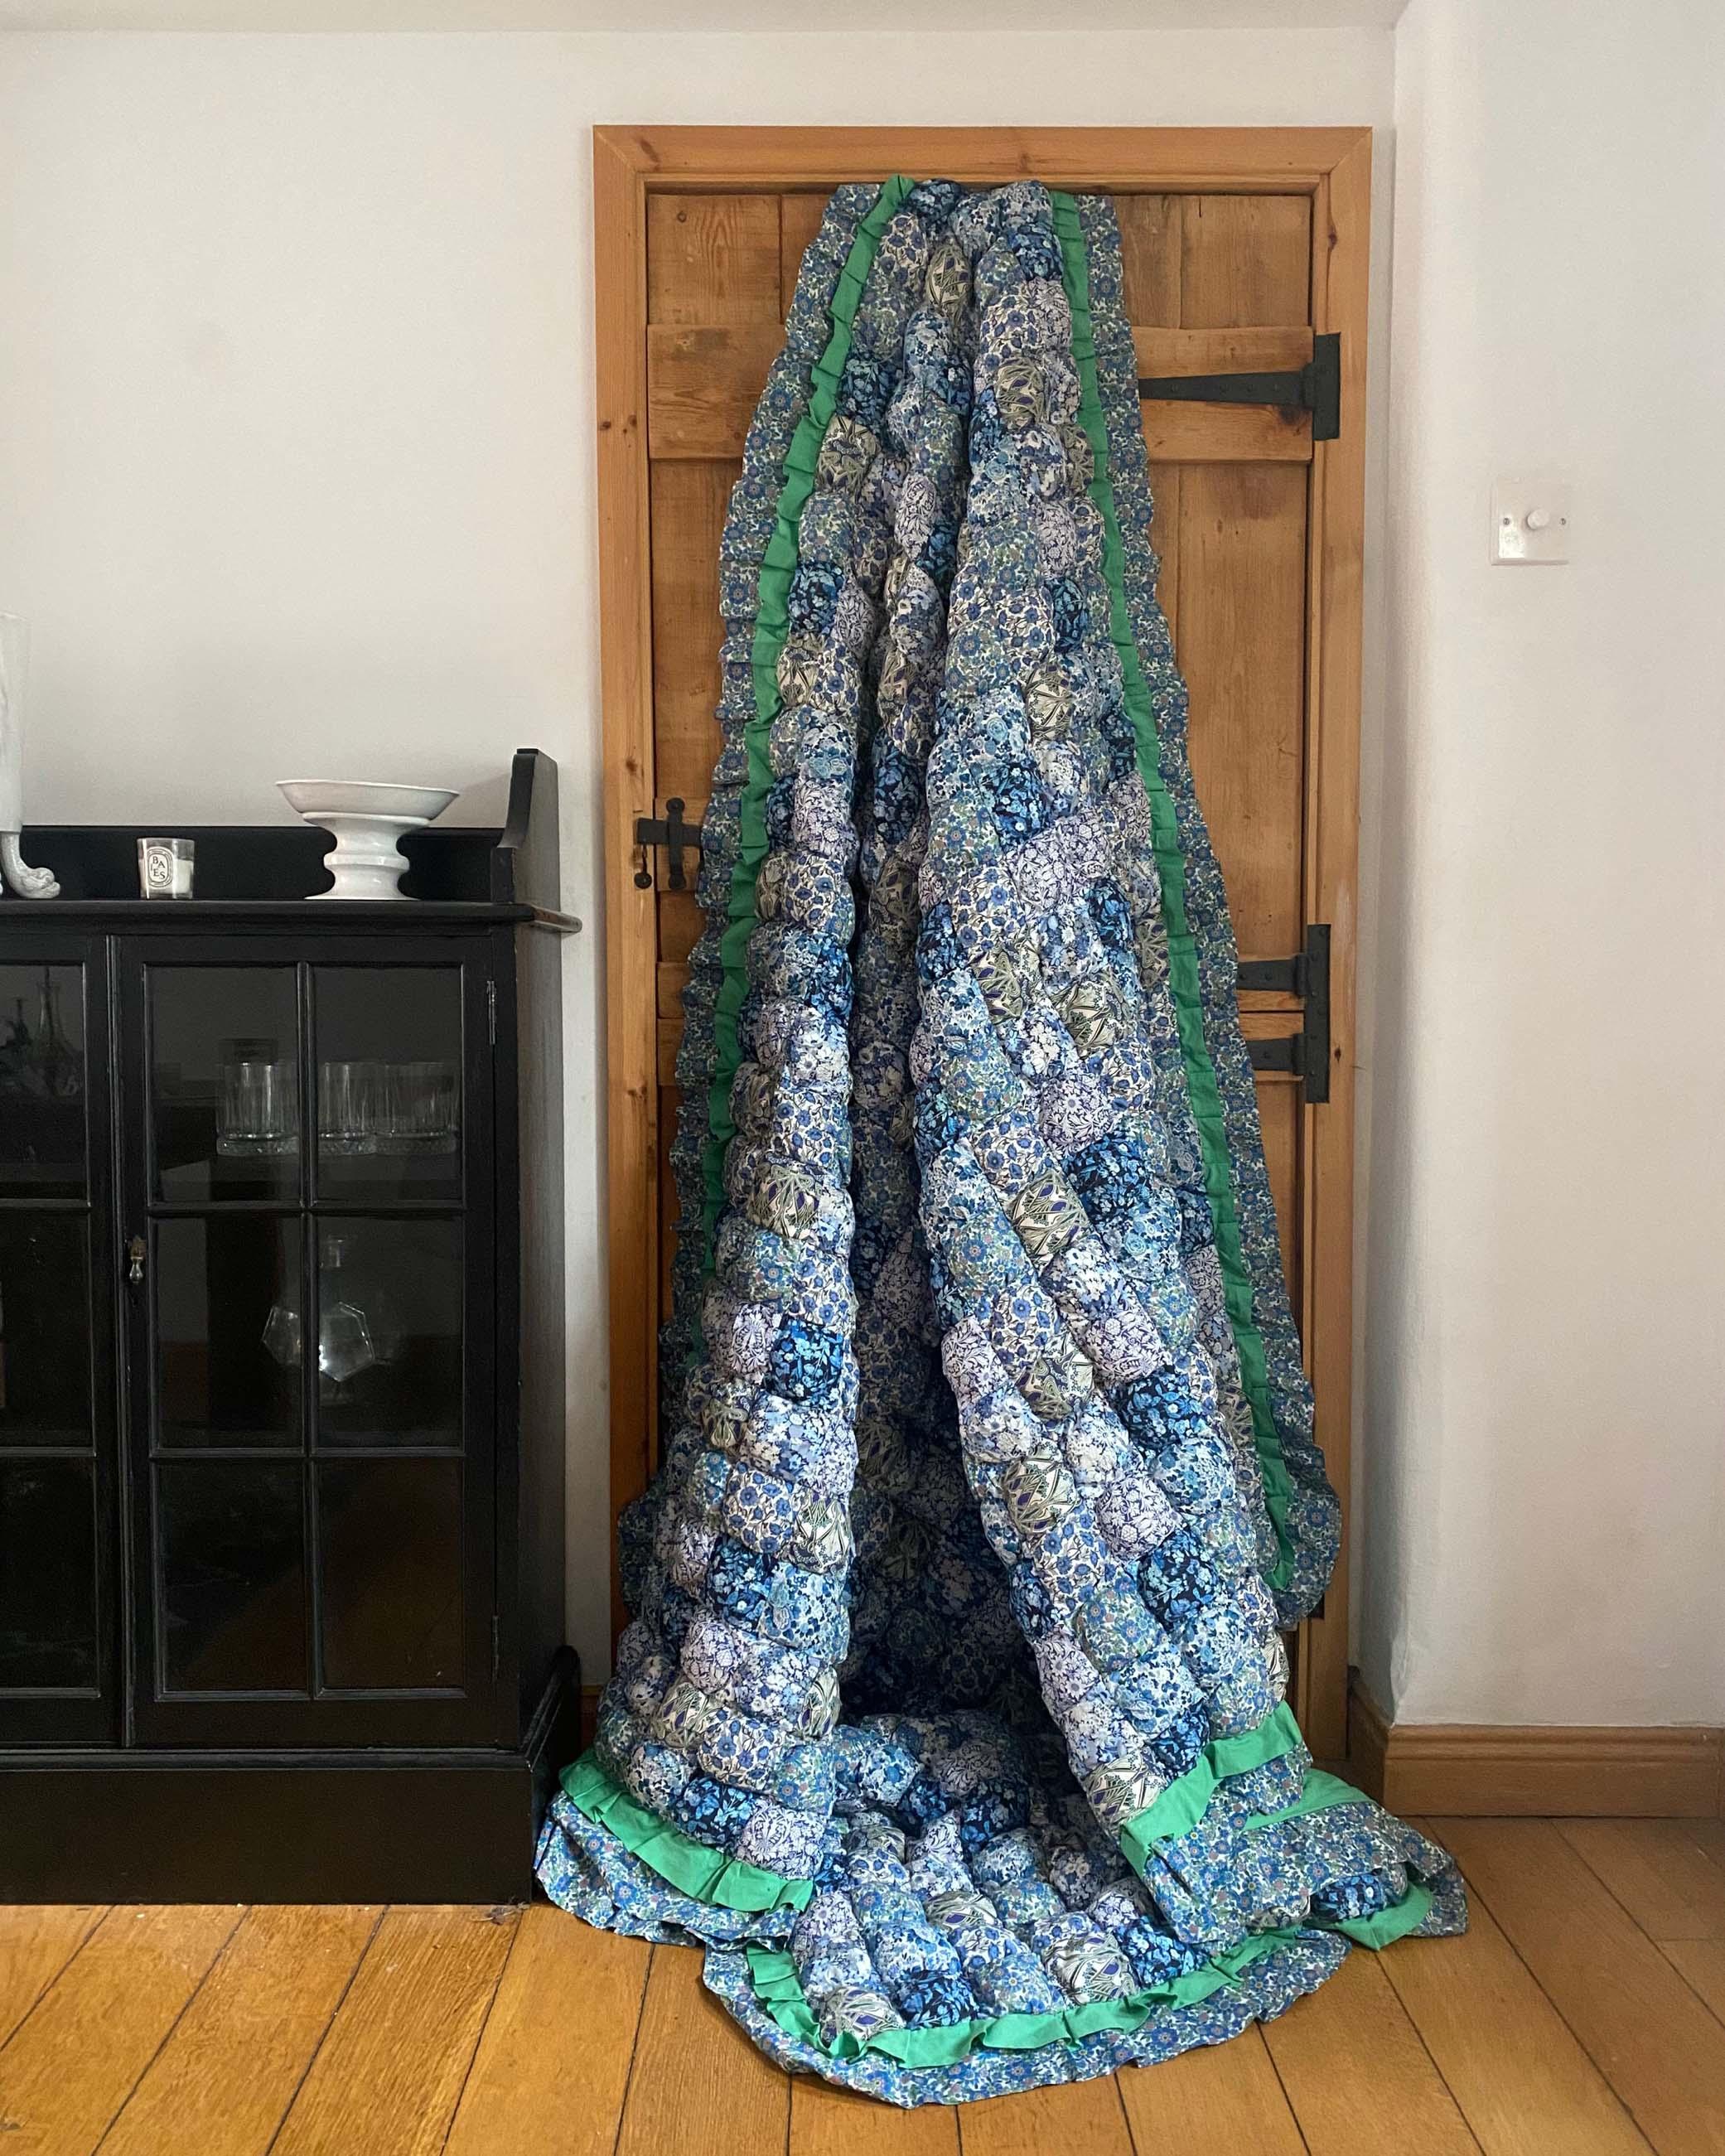
Fin
Et voila! You're ready to dress your bed or drape over the sofa to inject some Liberty comfort to your home – incredibly well deserved after those 700 squares, we reckon...


_0824_RETOUCHED?fmt=auto&qlt=default&metadata=true$poieg$&w=1000&h=1300&sm=c&poi={$this.metadata.pointOfInterest.x},{$this.metadata.pointOfInterest.y},{$this.metadata.pointOfInterest.w},{$this.metadata.pointOfInterest.h}&scaleFit=poi)


?fmt=auto&qlt=default&metadata=true$poieg$&w=1000&h=1300&sm=c&poi={$this.metadata.pointOfInterest.x},{$this.metadata.pointOfInterest.y},{$this.metadata.pointOfInterest.w},{$this.metadata.pointOfInterest.h}&scaleFit=poi)


